There’s just something magical about lifting forkfuls of perfectly tender, from scratch pasta with silky texture. It feels like a little bit of culinary alchemy, doesn’t it? I remember my first real attempt, nervous as could be, but the chef I was shadowing just smiled and told me to trust the process. Watching that dough transform from humble flour and eggs into delicate, satiny sheets that practically melted in your mouth? That was a game-changer. As a culinary writer for sauvro.com, I’ve experimented with countless recipes, but the pure satisfaction of crafting my own silky pasta from scratch is unmatched. It truly elevates any meal, turning simple ingredients into something extraordinary.
Why You’ll Love This From Scratch Pasta With Silky Texture
There’s just something incredibly satisfying about making your own pasta, right? And when you nail that perfect, silky texture? Oh, it’s pure magic. Here’s why you’ll love this recipe:
- It’s easier than you think! Honestly, with just a few simple ingredients and a little bit of love, you can create amazing pasta right in your own kitchen.
- That Silky Texture! This is the star of the show. We’re talking smooth, tender pasta that practically melts in your mouth. It’s a world away from anything boxed.
- Real, Fresh Flavor. You can truly taste the difference! Fresh pasta has a brightness and depth that just can’t be beat.
- It’s a Rewarding Process. There’s something deeply satisfying about turning simple flour and eggs into a gourmet meal with your own two hands. It’s a little slice of culinary therapy.
- So Versatile. Once you master the dough, you can cut it into all sorts of shapes. Fettuccine, linguine, pappardelle – the possibilities are endless!
- Wow Your Dinner Guests! Nothing says “special occasion” like serving homemade pasta. It’s a guaranteed showstopper that your friends and family will rave about.
Essential Ingredients for Perfect Silky Pasta
Alright, so making this gorgeous pasta is surprisingly simple ingredient-wise. You only need a few things, and the quality really makes a difference in getting that amazing silky texture. Here’s what you’ll grab:
- 2 1/4 cups Unbleached all-purpose flour, 00 pasta flour, or a combination (That’s about 300 grams if you’re weighing, which I totally recommend!)
- 3 Extra large eggs, and make sure they’re at room temperature.
- 1 tablespoon Extra virgin olive oil
Ingredient Notes and Substitutions
Okay, let’s talk flour. ‘00’ pasta flour is super fine and gives you that authentic, cloud-like texture. But honestly, a good quality unbleached all-purpose works beautifully too, maybe mixed with a bit of ‘00’ if you can find it. My recipe calls for extra-large eggs, and room temperature ones blend in so much easier! If yours are medium or large, you might need to add an extra tablespoon or two of water to get the dough just right. And that little bit of olive oil? It just adds a touch of suppleness to the dough, making it even more luxurious to work with. Trust me, these simple things make a big difference!
Essential Equipment for Making Pasta From Scratch
To get that beautiful, silky pasta texture, you’ll want a few trusty tools on hand. Don’t worry, it’s not a super fancy setup! You’ll need a clean work surface where you can really get your hands into the dough, a fork for whisking those eggs, and a handy dough scraper to help bring everything together. A pasta machine makes rolling it out a breeze, but a rolling pin works too if you’re feeling strong! And don’t forget a rimmed baking sheet, lightly floured, to keep your gorgeous pasta nests from sticking.
Step-by-Step Guide to From Scratch Pasta With Silky Texture
Alright, let’s get our hands dirty (in the best way possible!) and make some pasta. This is where the magic really happens, and trust me, it’s totally achievable. This part of the process will take about 30 minutes of active work, and then we’ll let it rest for about an hour — that’s the secret to a happy dough for that silky texture we’re aiming for! It’s all about those small steps, like we talk about over at sauvro.com, that make a big difference.
Creating the Dough Well and Incorporating Ingredients
First off, pile your flour onto a clean, spacious work surface. Now, make a nice, wide well right in the middle – think of a little flour volcano! Crack your room-temperature eggs right into that well. Grab a fork and gently whisk those eggs up, then slowly start pulling in the flour from the inner walls of the well. Keep going until it’s like a thick, goopy batter, then a shaggy, sticky dough. Use your dough scraper to help incorporate all those little bits of flour. Now, it’s time for your hands!
Kneading for Silky Smoothness
This is where the texture really starts to build. Switch to your hands and start kneading that rough dough into a ball. Keep kneading for about 5 to 10 minutes. You’re looking for a dough that feels firm and nicely bouncy, totally smooth to the touch. If it feels too sticky, just sprinkle on a tiny bit more flour and knead it in. If it feels super dry, spritz it with a little water. That firm, smooth texture is key to silky pasta!
The Crucial Resting Period
Once you’ve got that perfectly smooth, firm dough, form it into a nice, tight ball. Wrap it up well in plastic wrap or pop it into a covered bowl. Now, this part is non-negotiable: let it rest for a whole hour at room temperature. Why? This gives the gluten time to relax, which makes the dough much easier to roll out later and, you guessed it, contributes to that wonderfully silky texture we’re after.
Rolling and Folding for Texture
Okay, dough has rested, your pasta machine is ready with the widest setting. Take about a quarter of your dough (keep the rest wrapped!) and briefly knead it again. Flatten that piece with your hand or a rolling pin into a thick oval shape, about 3-4 inches long. Feed this through the widest setting on your pasta machine. Lay the strip on your clean, lightly floured surface. Now, fold it into thirds, like a business letter. Sprinkle it *lightly* with flour and pass it through that widest setting again. Do this fold-and-roll one or two more times to really set that shape and start developing that lovely smoothness.
Achieving Desired Thickness
Time to get that dough thin! Move your pasta roller to the next narrower notch. Feed the dough strip through *twice* on this setting, adding a tiny bit of flour if it feels like it’s getting sticky. Keep going, passing the dough through twice on each successively narrower setting. For a beautiful spaghetti or fettuccine, you want the sheets to be about 1/8 to 1/16-inch thick. It should feel pliable and slightly moist, but not tacky. Don’t let it dry out too much, or it might crack when you cut it!
Cutting and Nesting the Pasta
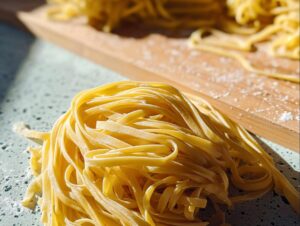
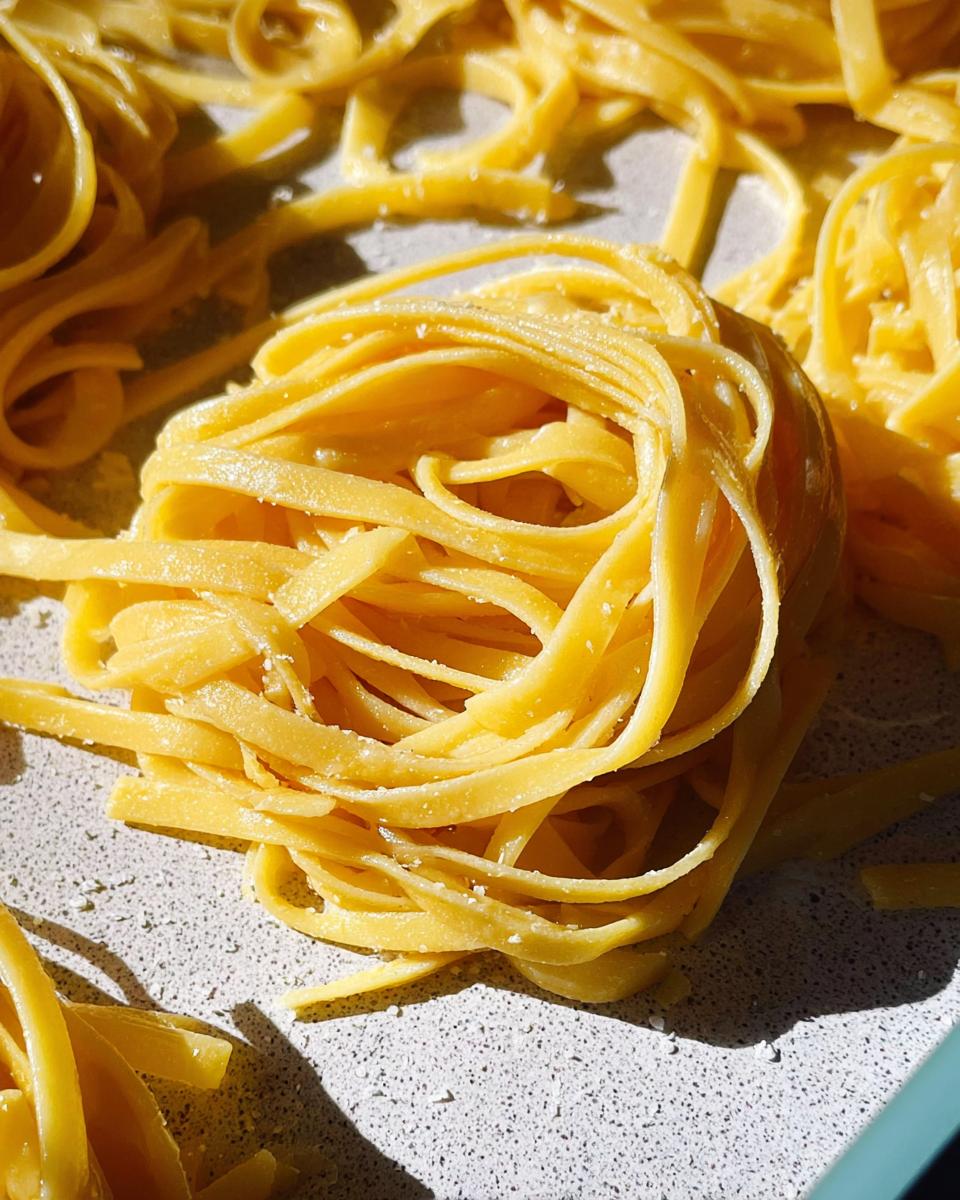
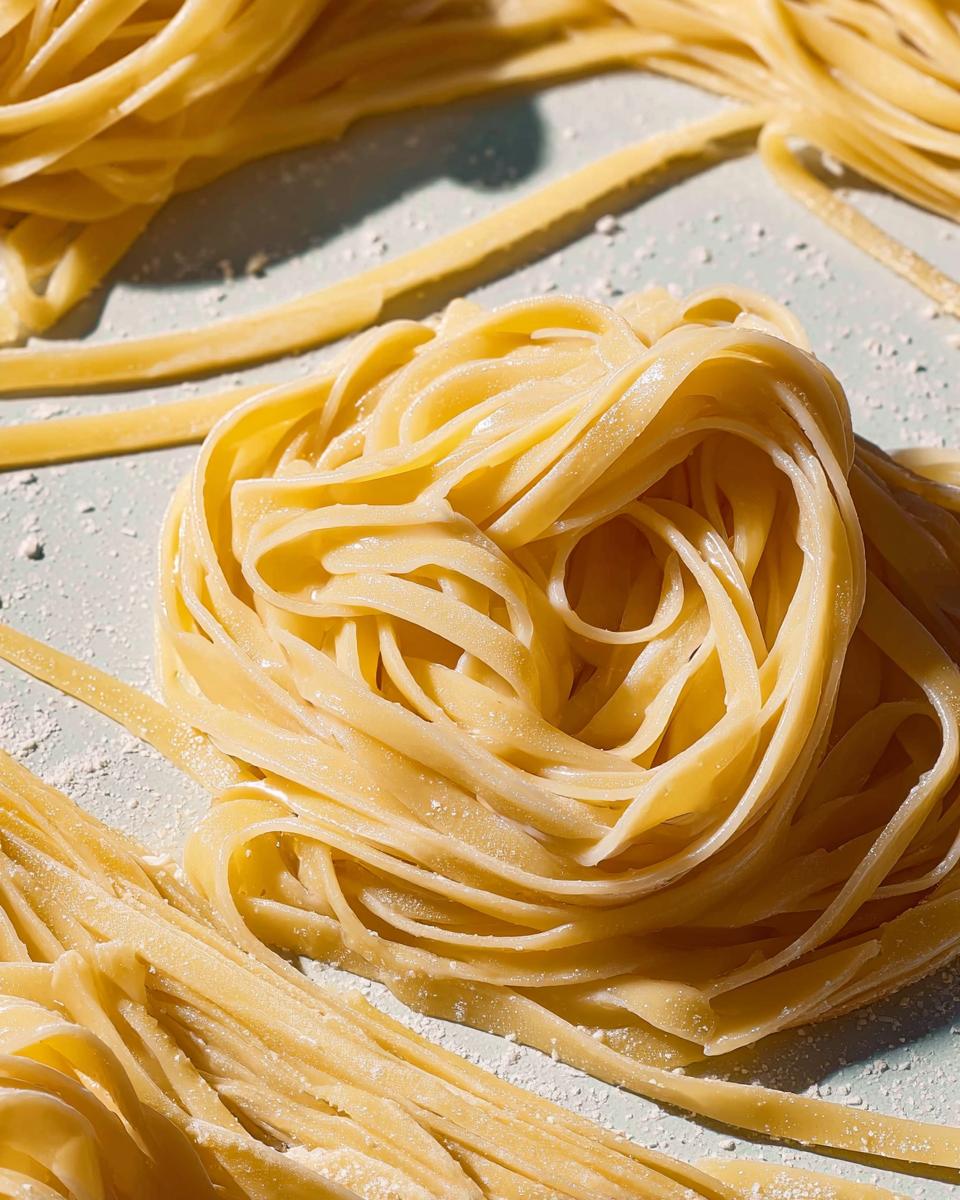
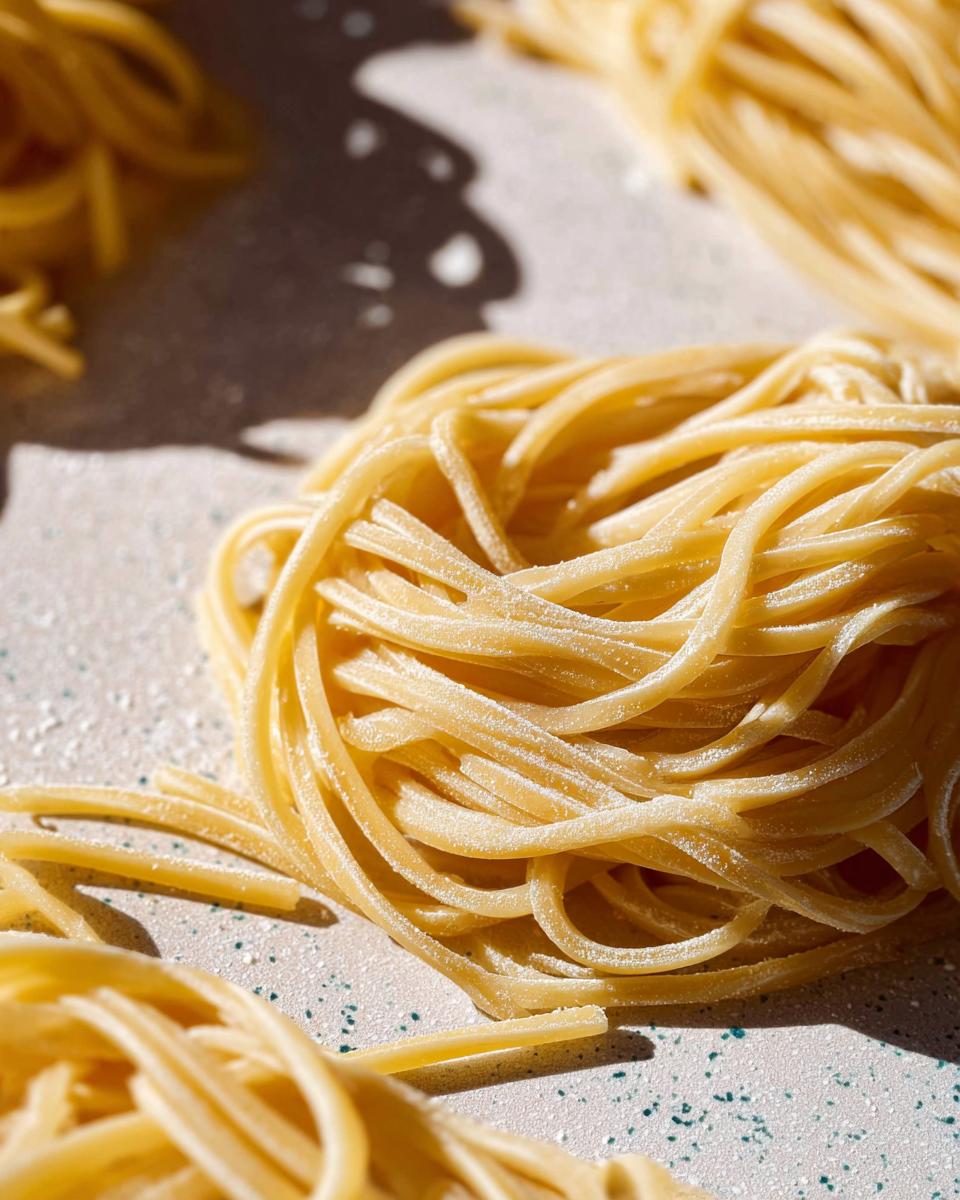
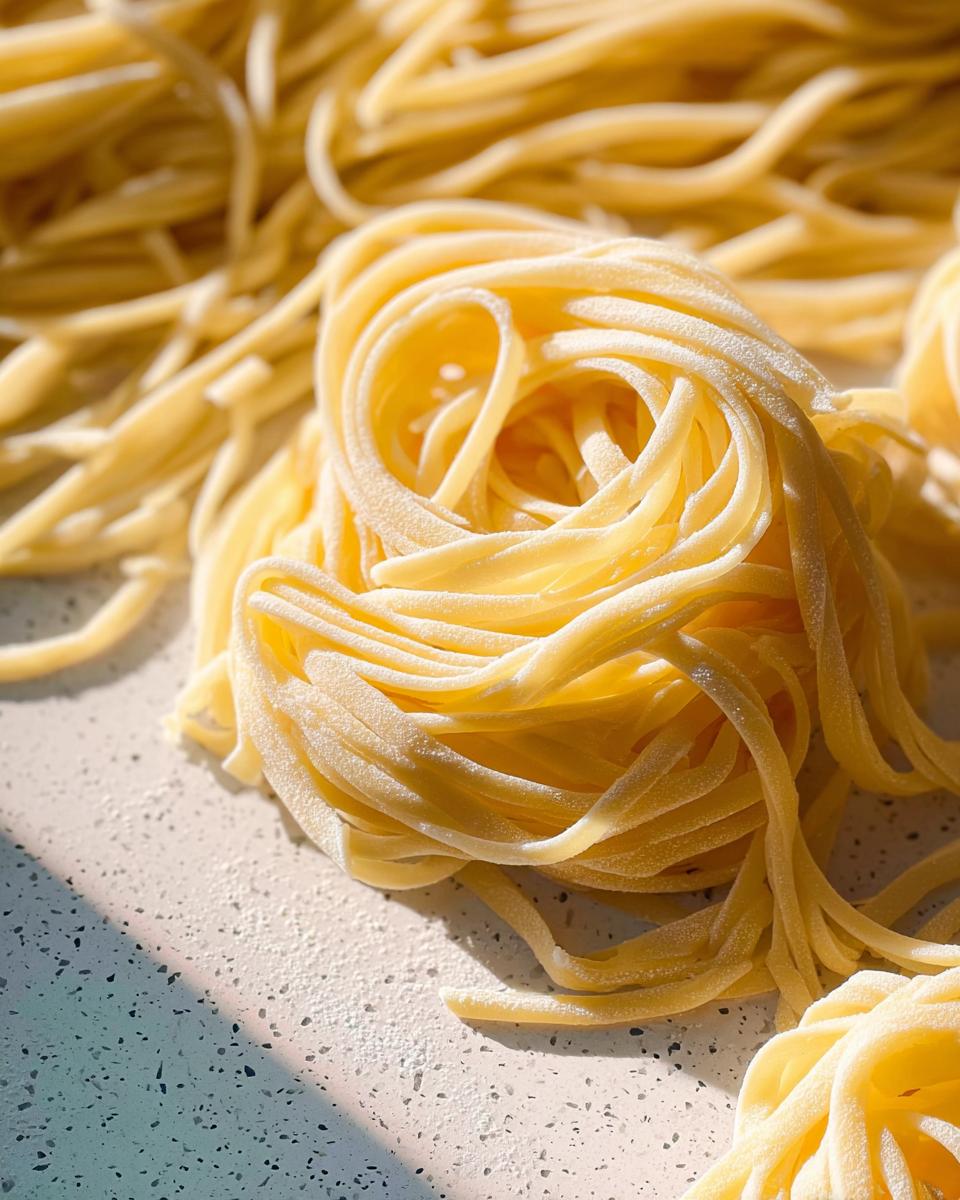
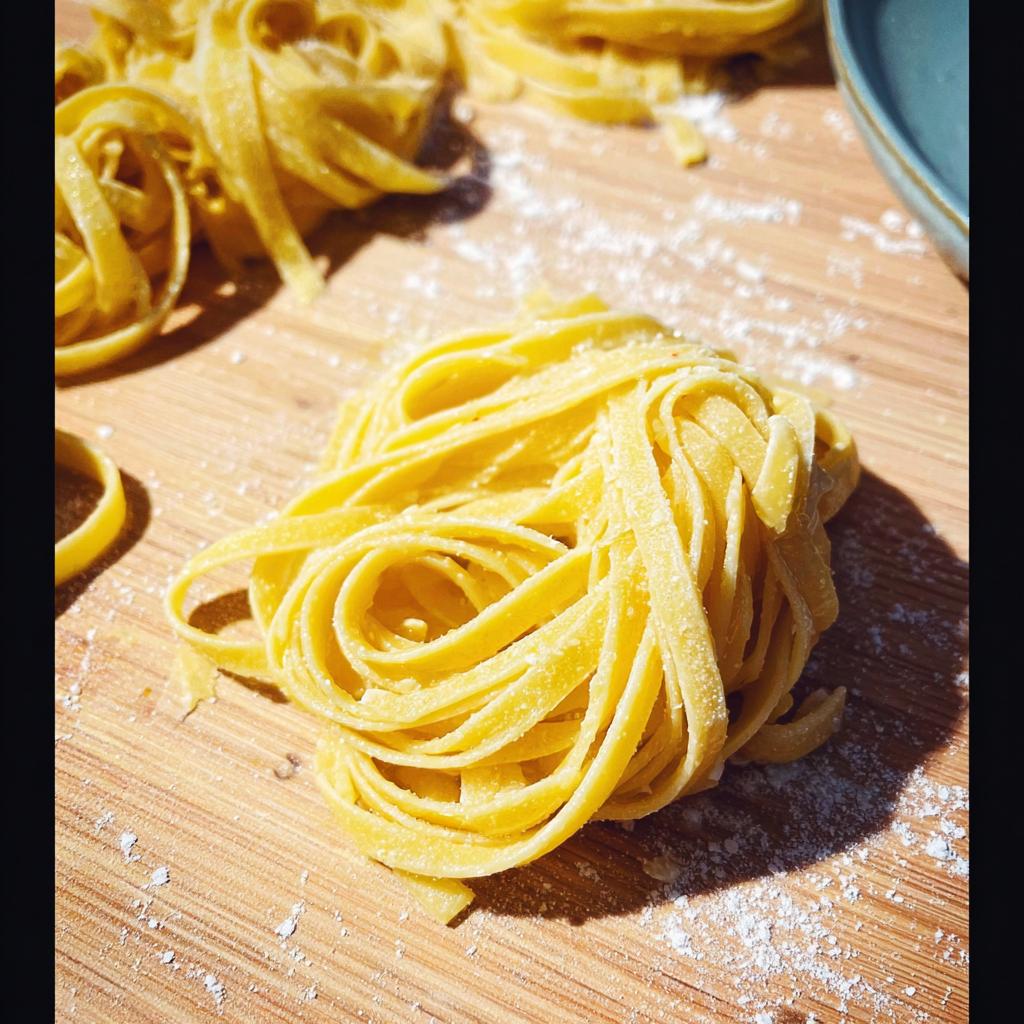
Once your sheets are rolled out to that perfect thinness and have dried just a touch—they should still be flexible—it’s time to cut! Run your sheets, one at a time, through the cutter attachment on your pasta machine. Don’t be afraid to cut longer sheets in half if they’re getting unmanageable. Gently gather the cut noodles and wrap them around your hand to create little nests. Place these gorgeous nests on your floured baking sheet as you go. We usually aim for noodles about 10-11 inches long.
Cooking Your From Scratch Pasta
Now for the best part! Get a big pot of water boiling over high heat—and don’t forget to salt it generously! It should taste like the sea. Carefully add your fresh pasta nests. Fresh pasta cooks super fast, usually just 3 to 5 minutes, depending on how thick you rolled it. Keep an eye on it; you don’t want it to get mushy. Once it’s perfectly al dente, drain it (reserve a little pasta water!) and toss it immediately with your favorite sauce. Try this yummy Lemon Butter Garlic Shrimp Pasta recipe for a perfect pairing!
Tips for Success: Mastering Silky Pasta Dough
Making that super-silky pasta dough isn’t just about following steps; it’s about understanding the dough itself. Over the years, I’ve picked up a few tricks that really make a difference. First, don’t be afraid of a slightly sticky dough when you’re first mixing it. It means you’ve got plenty of moisture, which is essential for that smooth finish. Just keep kneading, and it’ll come together beautifully. Secondly, and this is a big one, let it rest! That hour of rest is non-negotiable. It allows the gluten to relax, so the dough becomes pliable and easier to get super thin without tearing. Finally, go slow with the pasta machine. Rushing could lead to uneven thickness or tears. Each pass, especially through the narrower settings, should be gentle and deliberate. Trust me, a little patience here yields that incredibly silky texture you’re craving.
Serving Suggestions for Your Homemade Pasta
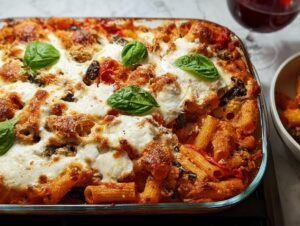
Now that you’ve got this gorgeous, silky pasta, what are you going to dress it with? Oh, the possibilities! It’s absolutely fantastic with a rich, hearty red sauce, letting that pasta’s sweetness shine through. Or, go for a creamy dreamy white sauce – a classic for a reason! If you’re feeling lighter, toss it with loads of fresh, vibrant veggies and a sprinkle of parmesan. Honestly, this pasta is so good, it’s the star, no matter the sauce!
Frequently Asked Questions About From Scratch Pasta
Got questions about making this amazing pasta? I get it! It’s new territory for some, but don’t worry, I’m here to help. Let’s clear up some things. And if you’ve got even more questions after this, feel free to reach out through our contact page!
Can I use a rolling pin instead of a pasta machine?
Absolutely! While a pasta machine makes getting that perfect, consistent thinness much easier, a good old-fashioned rolling pin works just fine. You’ll need a bit of patience and a sturdy surface. Just follow the rolling and folding steps, and keep rolling until you reach that desired 1/8 or 1/16-inch thickness. It takes a little more elbow grease, but the result is totally worth it!
How do I know when my pasta dough is ready to cut?
This is super important for that silky texture! Your pasta sheets are ready to cut when they feel pliable and slightly moist, but not sticky to the touch. You should be able to pick them up without them clinging to your fingers. If they’re too dry, they might crack when you cut them, so err on the side of slightly more moist than too dry. They should still hold their shape when you run them through the cutter.
Can I freeze fresh pasta?
Yes, you sure can! Once you’ve cut your pasta into nests (or any shape you like), place them on a floured baking sheet and pop the whole thing in the freezer for about 30 minutes, or until the pasta is firm. Then, transfer the frozen nests to an airtight container or freezer bag. You can cook it straight from frozen; just add a minute or two to the cooking time. It’s a great way to have homemade pasta ready whenever the craving strikes!
My dough feels too sticky/dry. What do do?
Don’t panic! If your dough feels too sticky while you’re kneading, just add a *tiny* bit more flour, maybe a teaspoon at a time, and knead it in. If it feels too dry and crumbly, spritz it with a little bit of water, just a teaspoon or so, and keep kneading until it comes together. The goal is a dough that’s firm but pliable. It’s all about finding that sweet spot!
How long does fresh pasta last in the fridge?
Fresh pasta is best enjoyed the day you make it, but it will keep in the refrigerator for about 1 to 2 days. Make sure you store it properly on a lightly floured surface, covered loosely with plastic wrap or in a container, so it doesn’t dry out completely. If you want to keep it longer, freezing is definitely the way to go!
Nutritional Information
Keep in mind that these are just estimates per serving, and your actual numbers might vary a bit depending on the exact flour and eggs you use. We’re looking at roughly 350-400 calories, about 10-15g of fat, 12-15g of protein, and 40-50g of carbohydrates per serving. It’s a delightful balance!
Share Your Silky Pasta Creations!
I’d absolutely LOVE to see your homemade pasta masterpieces! Did you get that perfectly silky texture? Drop a comment below and tell me all about it – what sauce did you pair it with? And if you snap a photo, tag us on social media! Sharing our kitchen triumphs makes cooking even more fun. Also, don’t forget to rate this recipe if you enjoyed it! For more inspiration on creating delicious home-cooked meals for your loved ones, check out sauvro.com!
Homemade Pasta with Silky Texture
Ingredients
Equipment
Method
- Mound the flour onto a clean work surface and make a wide, shallow well in the middle.
- Break the eggs into the well and whisk with a fork to break them up and incorporate the yolks with the whites. Whisk in the olive oil.
- With your fork, begin incorporating flour from the inside walls of the well, a little at a time. Continue to incorporate until the mixture is batter-thick, then a rough, sticky dough. Use a dough scraper to scrape up any shaggy bits from the work surface and to incorporate the flour into the eggs. Switch to your hands and begin kneading the dough into a rough ball.
- Knead until you have incorporated most, or all of the flour and the dough feels firm and bouncy. If it feels sticky, knead in a little more flour. If it feels dry, spritz a little water onto the dough and knead it in. Continue kneading for 5 to 10 minutes, until the dough is smooth and firm. Form the dough into a tight ball and cover with plastic wrap or a bowl. Let it rest for 1 hour at room temperature.
- Set up your pasta machine or mixer with the pasta attachment, making sure the pasta roller is at its widest setting. Sprinkle a little flour on a cleared area around the machine or mixer. Sprinkle a clean rimmed baking sheet with flour.
- Cut the ball of dough into 4 quarters and rewrap three. Knead the remaining piece briefly on the work surface. With a rolling pin or the heel of your hand, flatten the piece of dough into a thick oval 3 to 4 inches long. Feed the dough through the pasta machine and then lay it on the work surface. Fold the dough into thirds, as though you were folding a business letter; sprinkle lightly with flour and pass it through the rollers again. Repeat the folding and rolling process one or two more times to help set the rectangular shape of the dough.
- Move the roller setting to the next narrower notch and feed the strip of dough through the setting twice, sprinkling it with a little flour if needed to keep it from sticking. Continue to pass the dough through the rollers twice on each setting until you have stretched it to the desired thickness. For spaghetti or fettuccine, the sheet of dough should be between 1/8 and 1/16-inch thick. Set the sheet aside on a floured surface. Stretch the remaining three pieces of dough in the same way and set them aside on the floured surface.
- Let the sheets dry briefly. They are ready to cut when they are still pliable and slightly moist but not too tacky. Do not let them over-dry or they might crack when you cut them.
- Once the pasta sheets are ready, run them, one at a time, through the cutter attachment of your pasta machine or mixer. Gently wrap the noodles around your hand to form a nest and place it on the floured baking sheet. If the sheets are too long to run comfortably through the cutters, cut them in half crosswise and run each half through separately. The noodles should be between 10 and 11 inches in length.
- Bring a pot of water to a boil over high heat and salt it generously. Add the pasta and cook anywhere from 3 to 5 minutes, depending on thickness. Fresh pasta cooks quickly so take care not to overcook. Toss with your favorite sauce and serve.
Notes
Tried this recipe?
Let us know how it was!Blake Morgan is a seasoned culinary writer dedicated to helping everyday cooks create dishes that are bold, approachable, and deeply satisfying. With a reputation for developing recipes that are both practical and inspiring, Blake has become a trusted voice for readers who want meals that excite the palate while still fitting into real-life routines. Today, Blake proudly shares this passion and expertise as a core contributor to sauvro.com, a platform committed to elevating the home-cooking experience.
Blake’s culinary journey began in local restaurants and community food programs, where early hands-on experience shaped a strong foundation in cooking fundamentals, ingredient pairing, and kitchen efficiency. After progressing from line cook to recipe consultant, Blake discovered a natural talent for teaching and communicating technique—leading to a career shift into food media and digital recipe development. This transition unlocked an even wider audience, allowing Blake to merge educational storytelling with flavorful recipe creation.