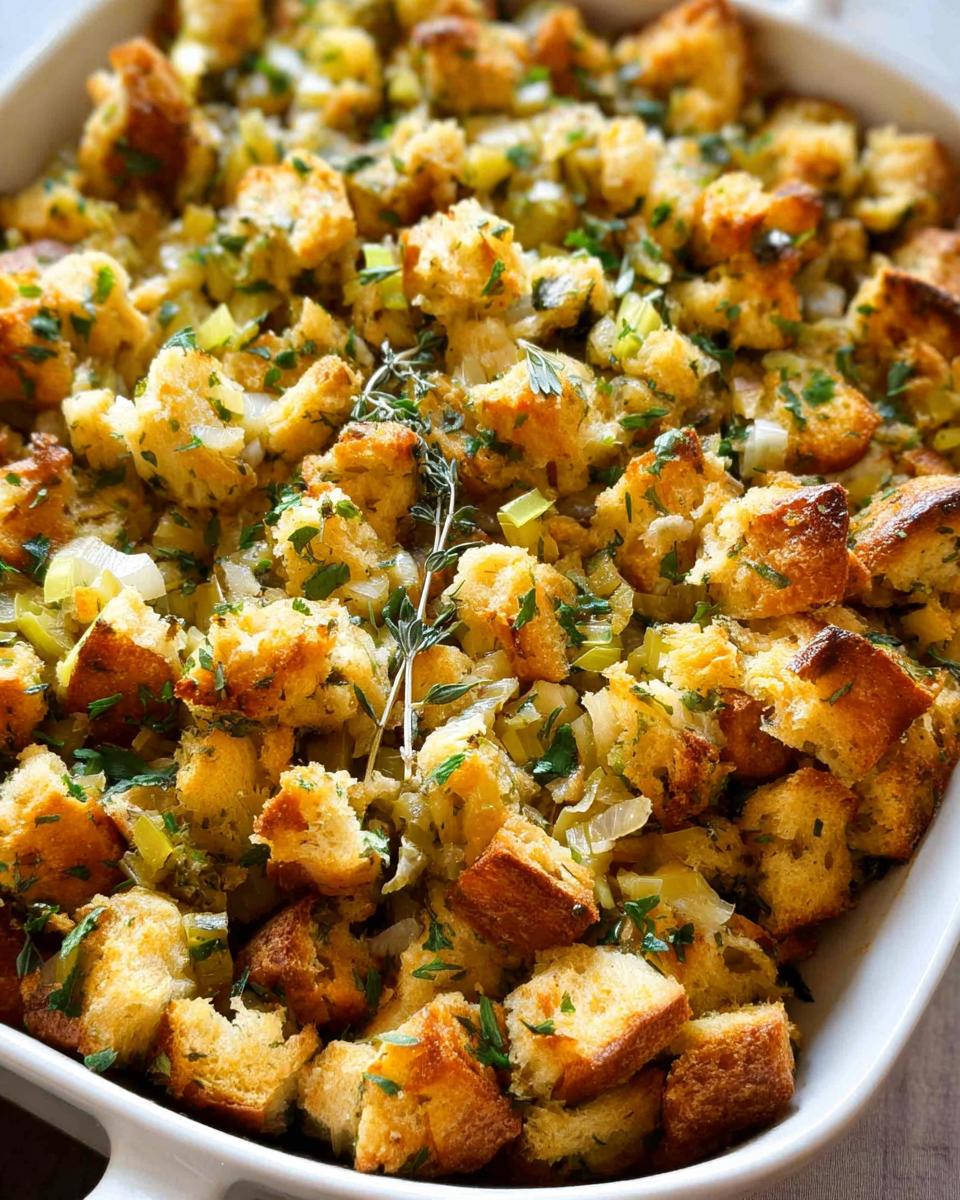
The smell of the holidays isn’t complete without a gorgeous pan of stuffing. I just *love* that moment when you pull it out of the oven, all golden and bubbly, ready to be scooped onto everyone’s plate. This recipe for Favorite Homemade Stuffing is truly scrumptious, savory, and comforting – it’s become *my* go-to because it’s so easy and tastes just like pure nostalgia in every bite. My family has these little traditions, right? For us, stuffing was always *the* dish. I remember as a kid, I’d help my mom tear apart loaves of bread, the kitchen filling with that amazing aroma of onions and butter. She’d always say, “It’s all about the flavor, honey.” And she was so right! This stuffing is proof that you don’t need anything complicated to create something truly special for your table.
Why This Favorite Homemade Stuffing is Scrumptious, Savory, and Comforting
Okay, let me tell you why this stuffing recipe is a total winner! It’s not just delicious, it’s like a warm hug on a plate.
- Super Easy Prep: Seriously, you don’t need to be a chef for this. The steps are straightforward, making it totally doable even when things get hectic around the holidays.
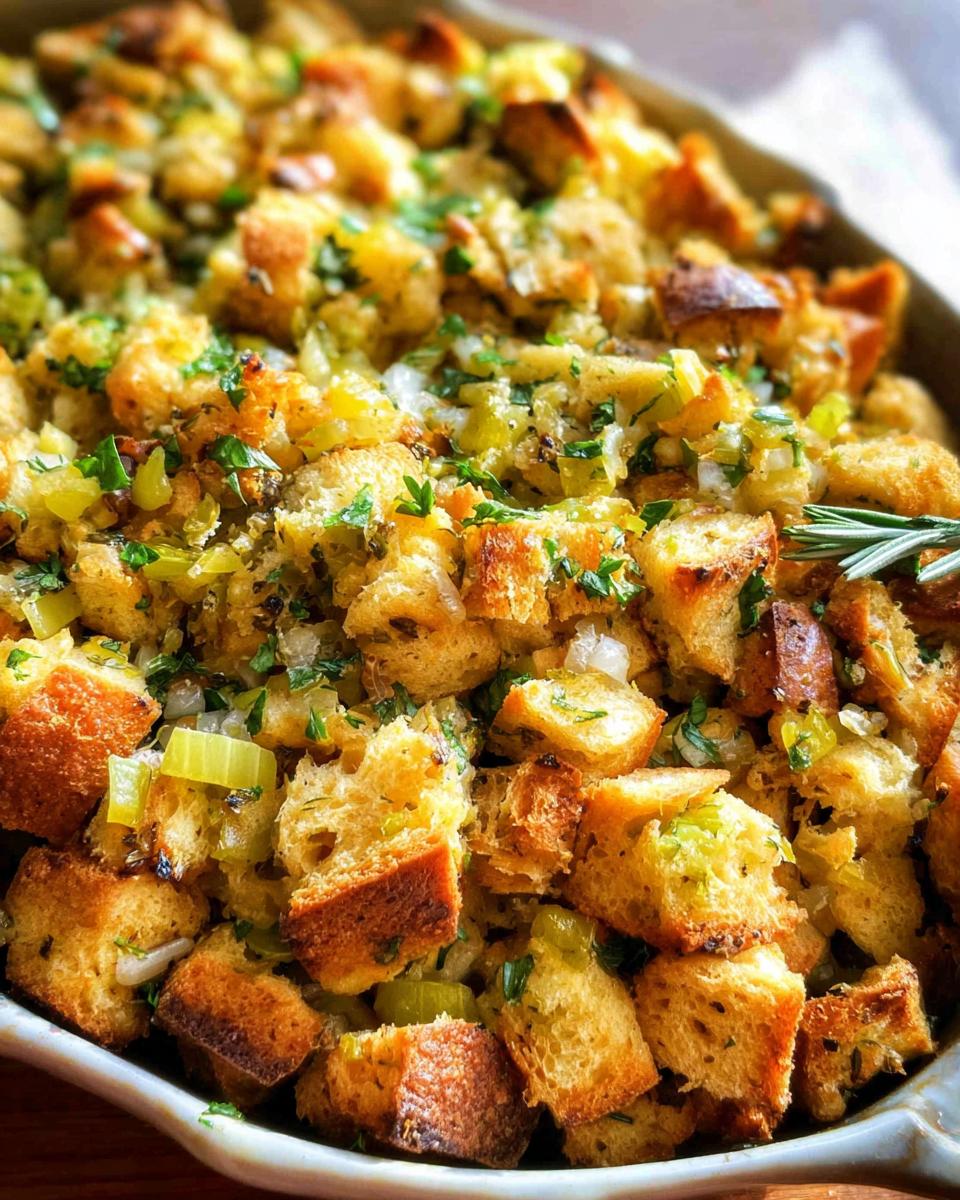
- Flavor Explosion: We’re talking fresh herbs, sautéed veggies, and that perfect balance of savory goodness. It’s the kind of flavor that makes your eyes roll back in your head!
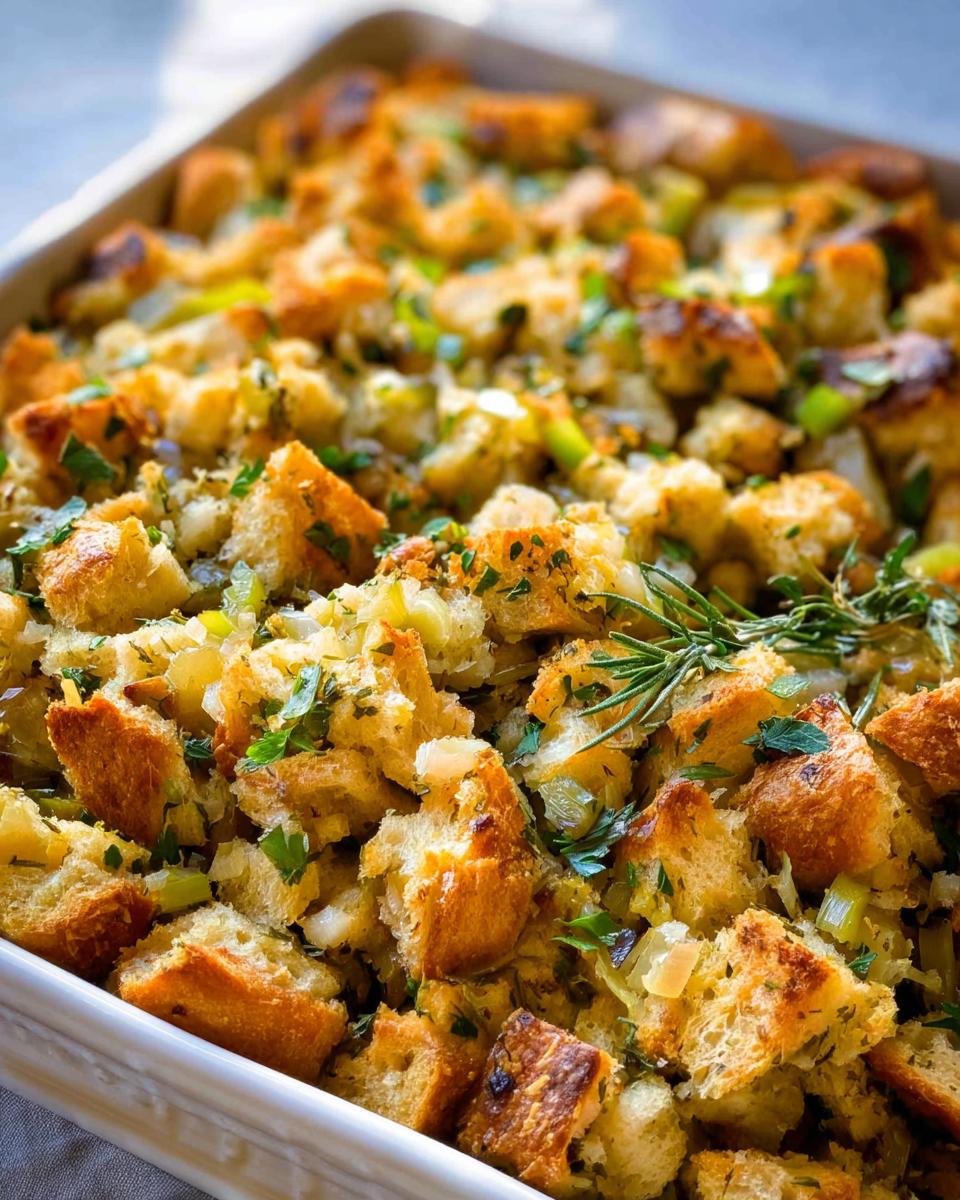
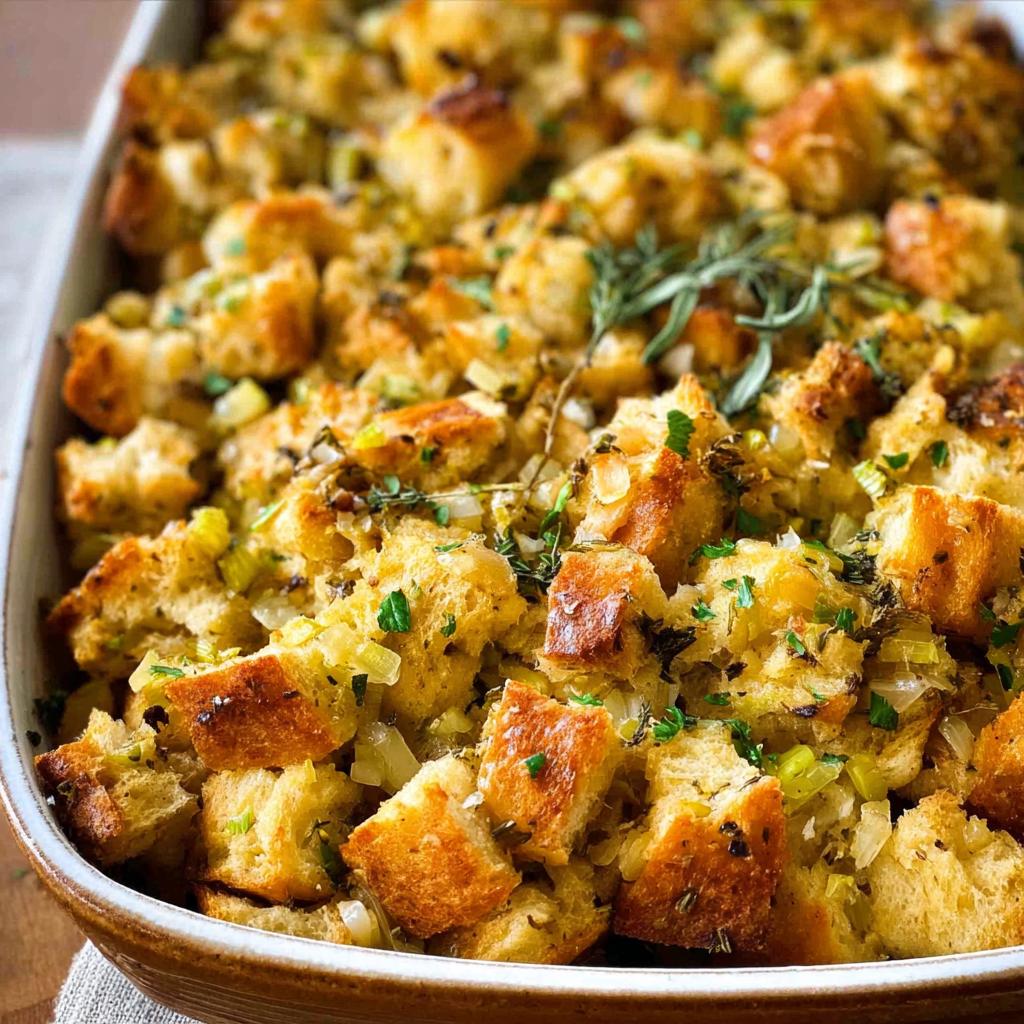
- Perfect Texture, Every Time: Thanks to drying out the bread just right, you get that amazing contrast – a slightly crisp top and a tender, flavorful inside. It’s total stuffing perfection.
- Pure Holiday Magic: This is the stuffing that *feels* like the holidays. It brings that comforting, nostalgic vibe to any table.
Gathering Your Ingredients for Favorite Homemade Stuffing
Alright, let’s get our shopping list together! For this scrumptious stuffing, we’re keeping it classic with ingredients that pack a serious flavor punch. You’ll want to grab:**
For the Stuffing:
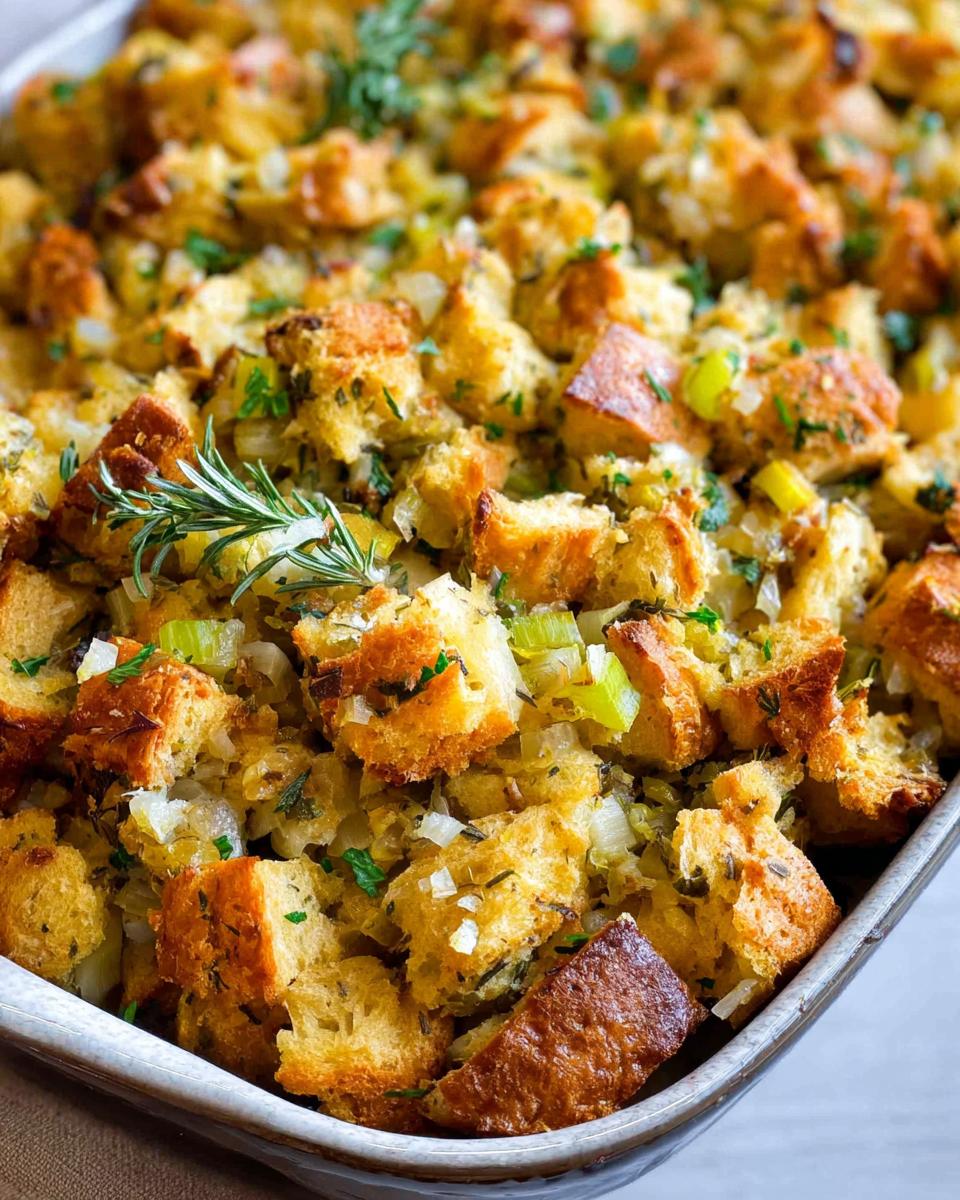
- 1 lb bread: I like to use a good sturdy bread, cut into 1-inch cubes. That usually ends up being about 12 cups, so don’t stress *too* much about the exact count!
- 3/4 cup unsalted butter: Always unsalted for me, so I can control the saltiness.
- 2 cups yellow onion, chopped: Sweet and essential!
- 1 1/2 cups celery, chopped: Gives it that lovely, foundational crunch.
- 1/4 cup Italian parsley, chopped: For freshness!
- 1 tablespoon fresh sage, minced: Oh, the aroma!
- 1 tablespoon fresh rosemary, minced: So fragrant.
- 1 tablespoon fresh thyme, minced: Make sure to just get the leaves, discard the woody stems.
- 1 1/2 teaspoons kosher salt: Or to your taste, of course.
- Ground pepper to taste: A good grind makes all the difference.
- 2 large eggs: These help bind everything together beautifully.
- 2 cups reduced sodium chicken broth: This is the liquid gold!
Essential Equipment for Your Favorite Homemade Stuffing
You won’t need a whole professional kitchen for this stuffing, but a few key things will make your life *so* much easier. Make sure you have a nice big skillet for sautéing, some baking sheets for drying out that bread (or just a big bowl if you’re air-drying!), and definitely a 9×13 inch baking dish. Oh, and a large bowl for mixing it all up is a must!
Crafting Your Scrumptious Favorite Homemade Stuffing: Step-by-Step
Alright, let’s get this stuffing party started! This is where all the magic really happens. Following these steps will lead you to that incredible, comforting bowl of stuffing your family will rave about.
Preparing the Bread Cubes: The Foundation of Your Favorite Homemade Stuffing
First things first, we’ve gotta get our bread ready. This step is SO important for getting that perfect texture in your Favorite Homemade Stuffing—you want it to soak up all those yummy flavors without turning into complete mush! You have two main ways to do this: You can either spread your bread cubes out in a big bowl and just let them sit on the counter, covered loosely, for a day or two, stirring them now and then. Or, if you’re in a bit of a hurry like I often am, just spread them in a single layer on baking sheets and pop them into a 250°F oven for about 45 to 60 minutes, stirring every so often until they’re nice and dry but not browned. Then, just dump those lovely dry cubes into your biggest mixing bowl!
Sautéing Aromatics for Savory Depth
Now, let’s build some serious flavor! Grab your skillet and melt that lovely unsalted butter over medium heat. Toss in your chopped onions and celery and let them do their thing until they’re nice and soft and a little bit see-through. This is what gives your stuffing that deep, savory foundation. Once they’re ready, just pour this gorgeous mixture right over the dried bread cubes. Now, add in all those wonderful fresh herbs – the parsley, sage, rosemary, and thyme – plus your salt and pepper. Give it all a good stir to coat everything evenly. You’ll already start smelling how amazing this is going to be!
Combining Wet and Dry Ingredients for Comforting Texture
Okay, time for the little bit of liquid magic! In a separate, medium-sized bowl, crack your eggs and whisk ’em up good. Then, pour in that reduced sodium chicken broth and give it another whisk until it’s all combined. Now, gently pour this egg and broth mixture over everything in your big bowl with the bread, veggies, and herbs. Use your hands – seriously, it’s the best way! – or a big spoon to mix it all up until every single bread cube is moistened. Be gentle, you don’t want to mash everything up.
Baking Your Favorite Homemade Stuffing to Golden Perfection
Almost there! Pour all that glorious stuffing mixture into your prepared 9×13 inch baking dish. Cover it up snugly with foil. Pop it into your preheated 350°F oven and let it bake for about 35 minutes. This lets everything steam and get nice and flavorful inside. After 35 minutes, carefully take off the foil. Now, let it bake for another 10 to 15 minutes, or until that top layer is perfectly golden brown and looks set. It’ll smell absolutely divine! For an extra little flavor boost, you can totally drizzle a tiny bit more melted butter over the top and give it a final sprinkle of salt right before serving. Yum!
Tips for Success with Your Favorite Homemade Stuffing
Trust me, a little bit of know-how goes a long way in making your Favorite Homemade Stuffing absolutely spectacular! Here are a few tricks I’ve picked up over the years:
Let the Bread Really Dry: This is the number one thing! Don’t skimp on drying out those bread cubes. Whether you air-dry or toast them, make sure they’re nice and firm. It’s crucial for getting that lovely texture that soaks up flavor without turning to mush. Seriously, it makes all the difference between soggy bread and perfect stuffing!
Fresh Herbs are Your Best Friend: I know dried herbs are easier, but fresh herbs just bring a whole new level of aroma and brightness. They make your stuffing taste so vibrant and alive. Mincing them up fresh right before you add them really wakes them up.
Don’t Over-Mix: Once you add the liquid, be gentle! Mix just until everything is combined. Over-mixing can make your stuffing dense and tough, and nobody wants that. We’re aiming for tender and flavorful, not gummy.
Crispy Top is Key: That uncovered baking time at the end? Don’t skip it! That’s what gives you those lovely golden-brown, slightly crispy bits on top, which are honestly the best part. For an extra boost, check out fun ideas on how to elevate your home cooking – it can inspire little touches!
Ingredient Notes and Substitutions for Favorite Homemade Stuffing
Sometimes you need to get a little creative in the kitchen, and that’s more than okay! For this Favorite Homemade Stuffing, the bread choice can really change things up. While I love a good sturdy white bread, feel free to experiment with sourdough for a little tang, or even cornbread for a sweeter, more rustic vibe. Just make sure whatever bread you choose is dried out really well! If you’re cooking for a vegetarian crowd, swapping out the chicken broth for a good quality vegetable broth works brilliantly. And about those herbs – fresh is definitely best for that amazing aroma, but if you’re in a pinch, about a third of the amount of dried herbs will do in a total pinch. It just won’t have quite the same vibrant punch, but it’ll still be delicious!
Serving Suggestions for Your Comforting Homemade Stuffing
This stuffing is truly the star of any holiday table, but it plays nicely with others too! It’s the perfect accompaniment to a classic roast turkey or a juicy baked ham. Imagine a slice of that perfectly cooked meat next to a generous scoop of this savory stuffing – divine! It also pairs wonderfully with other holiday favorites like creamy mashed potatoes, tangy cranberry sauce, or some roasted Brussels sprouts. Basically, anything that screams comfort food and celebration will be a fantastic partner for your homemade creation. You can even check out some inspiration here to build your whole festive menu!
Storage and Reheating Your Scrumptious Stuffing
Got leftovers? Lucky you! To keep your delicious stuffing tasting its best, let it cool down completely first. Then, pop it into an airtight container and stash it in the fridge. It should stay good for about 3-4 days. When you’re ready for another taste, the best way to reheat is to cover it with foil and pop it back into a moderate oven (around 350°F) until it’s warmed all the way through. If you like that lovely crispy top, just remove the foil for the last 10 minutes or so!
Frequently Asked Questions About Favorite Homemade Stuffing
Got questions about whipping up this Favorite Homemade Stuffing? I totally get it! Here are some of the things folks often ask to make sure their stuffing turns out absolutely perfect. If you have more questions, feel free to reach out – I’m always happy to help!
Can I make this Favorite Homemade Stuffing ahead of time?
Yes, absolutely! Make-ahead is totally doable and a lifesaver during busy holidays. You can prepare the stuffing mixture up to a day in advance, but don’t mix in the eggs and broth yet. Keep the dried bread cubes and the sautéed veggie mixture separate. Then, just combine everything, add the wet ingredients when you’re ready to bake, and proceed with the recipe. You can also bake it completely, let it cool, and then reheat it gently. It’s a fantastic time-saver!
What’s the absolute best bread to use for this Favorite Homemade Stuffing?
For this scrumptious stuffing, I really love a good, sturdy, day-old white bread. Think challah, brioche, or even a simple French baguette or Italian loaf. What’s important is that the bread isn’t super soft and fresh, so it holds its shape when dried and doesn’t turn to complete mush when you add the liquid. A bit of texture is key for that perfect bite!
Can I add extras to my Favorite Homemade Stuffing? My family loves sausage!
Oh, totally! That’s the beauty of homemade – you can make it your own! For a richer flavor, you can certainly brown about a pound of breakfast sausage (or even crumbled chorizo for a kick!) and add it in with the onions and celery. Cooked mushrooms, diced apples, or toasted pecans are also fantastic additions that add extra flavor and texture. Just make sure to adjust your liquid a smidge if you add a lot of extra wet ingredients.
How do I make sure my Favorite Homemade Stuffing has a nice, crispy top?
Getting that perfect golden-brown, slightly crispy topping is all about that final baking stage. Make sure you remove the foil for the last 10-15 minutes of baking. If you want it *extra* crispy, you can even pop it under the broiler for a minute or two at the very end – just watch it like a hawk so it doesn’t burn! A little extra drizzle of melted butter on top before that final bake also helps create those delicious crispy bits.
What if I don’t have fresh herbs for my Favorite Homemade Stuffing?
While fresh herbs really do bring an amazing vibrancy, I know they’re not always on hand. If you have to use dried herbs, use about one-third of the amount called for fresh. So, for example, 1 tablespoon of fresh sage would be about 1 teaspoon of dried sage. Mix the dried herbs in with your dry bread cubes before adding the liquid. It’ll still be delicious, just a little less bright and aromatic than with fresh!
Estimated Nutritional Information
Just a friendly reminder that these numbers are estimates, as the exact values can change a little depending on the specific ingredients and brands you use. This is for about 8 servings.
Calories: ~350-450 per serving
Fat: ~20-30g
Protein: ~8-12g
Carbohydrates: ~30-45g
Favorite Homemade Stuffing
Ingredients
Equipment
Method
- Dry your bread cubes. You can air-dry them by placing them in a large bowl, covered, on the counter for 1-2 days, stirring occasionally. Alternatively, toast them in a single layer on baking sheets at 250 degrees F for 45-60 minutes, stirring occasionally. Transfer dried cubes to a large bowl.
- Preheat your oven to 350 degrees F. Spray a 9×13 inch casserole dish with cooking spray.
- Melt butter in a skillet. Add chopped onion and celery and sauté until vegetables are soft. Pour this mixture into the bowl with the bread cubes. Add parsley, sage, rosemary, thyme, salt, and pepper. Stir to combine.
- In a medium bowl, whisk the eggs. Add the chicken broth and whisk together. Pour this liquid mixture over the dry bread cubes and mix well.
- Pour the stuffing mixture into the prepared baking dish. Cover with foil and bake for 35 minutes. Remove the foil and bake for an additional 10-15 minutes, or until the top is golden brown and the center is set.
- Optional: Drizzle a little extra butter on top and sprinkle with salt before serving to enhance flavors.
Notes
Tried this recipe?
Let us know how it was!Blake Morgan is a seasoned culinary writer dedicated to helping everyday cooks create dishes that are bold, approachable, and deeply satisfying. With a reputation for developing recipes that are both practical and inspiring, Blake has become a trusted voice for readers who want meals that excite the palate while still fitting into real-life routines. Today, Blake proudly shares this passion and expertise as a core contributor to sauvro.com, a platform committed to elevating the home-cooking experience.
Blake’s culinary journey began in local restaurants and community food programs, where early hands-on experience shaped a strong foundation in cooking fundamentals, ingredient pairing, and kitchen efficiency. After progressing from line cook to recipe consultant, Blake discovered a natural talent for teaching and communicating technique—leading to a career shift into food media and digital recipe development. This transition unlocked an even wider audience, allowing Blake to merge educational storytelling with flavorful recipe creation.