There’s just something magical about biting into a dessert that looks like it came straight from a fancy bakery, right? Achieving that *bakery-style finish* at home can feel like a big dream, but trust me, it’s totally doable! I still remember my own lumpy frosting disaster years ago when I first tried to elevate my cupcakes. Instead of giving up, I learned that the real secret isn’t secret at all – it’s all about patience, a little precision, and a whole lot of heart. That’s what my journey into creating approachable yet inspiring recipes has taught me. As a culinary writer, my passion is showing you how to make those **favorite homemade desserts** truly shine, proving that you don’t need a professional kitchen to create something extraordinary. Get ready to bring that bakery magic home!
Why You’ll Love These Beignets: A Favorite Homemade Dessert
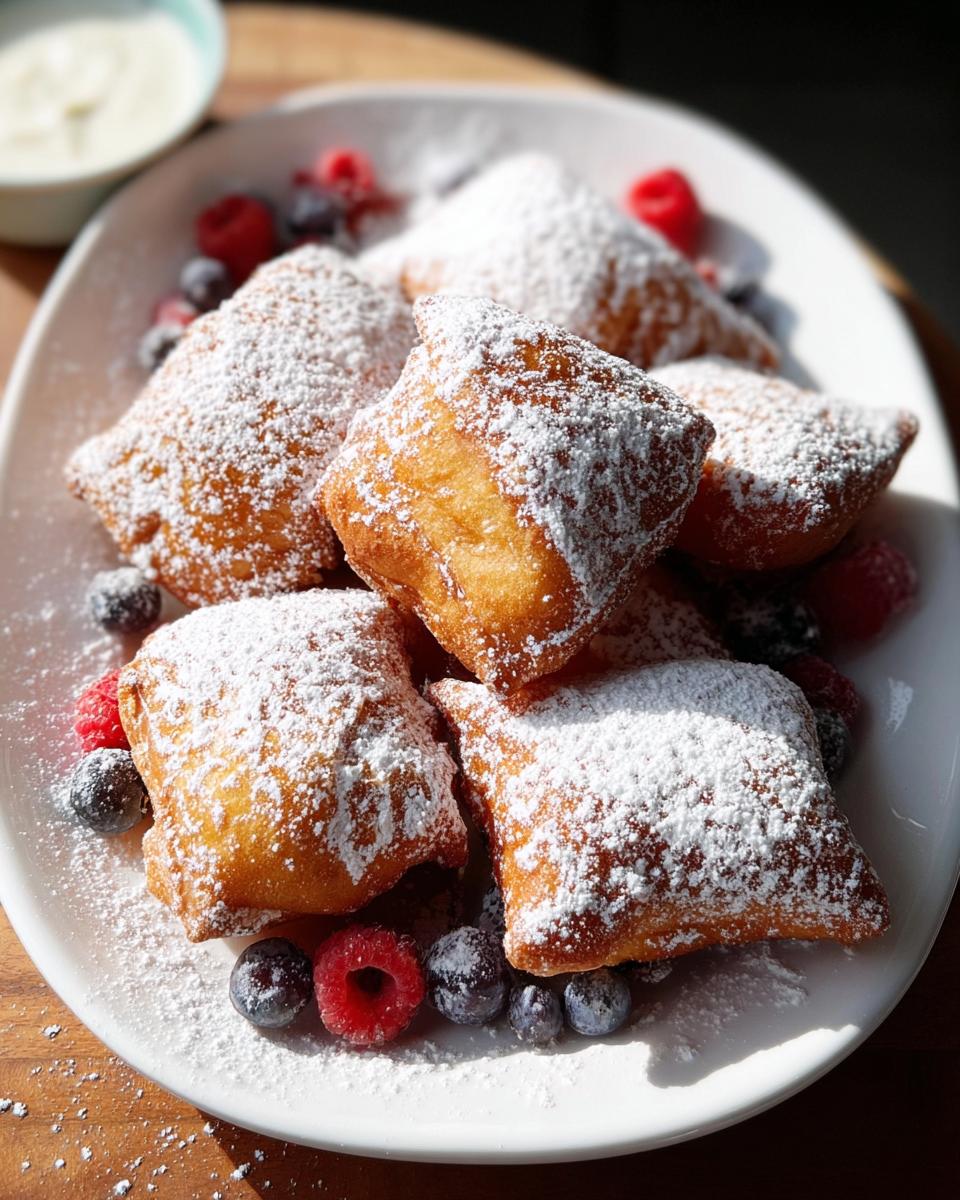
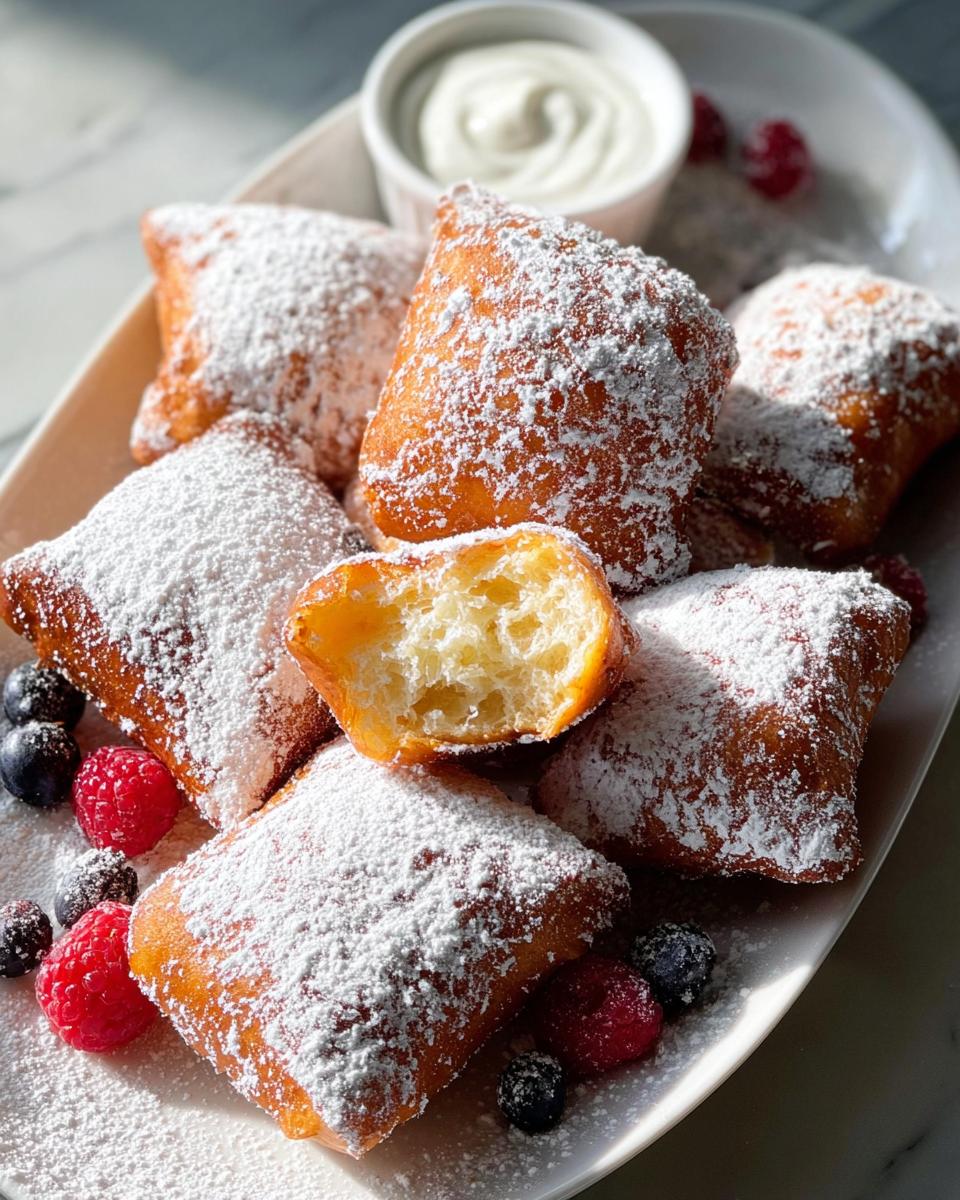
Seriously, who *doesn’t* love a warm, pillowy beignet dusted with powdered sugar? These aren’t just any donuts; they’re a true taste of New Orleans magic right in your own kitchen! What makes them so special, you ask?
- Quick Prep Promise: While they need a little chill time, the active prep is surprisingly fast. Perfect for when that sweet tooth hits hard!
- Family Friendly Fun: Kids and adults alike go wild for these. Making them together is a super fun family activity.
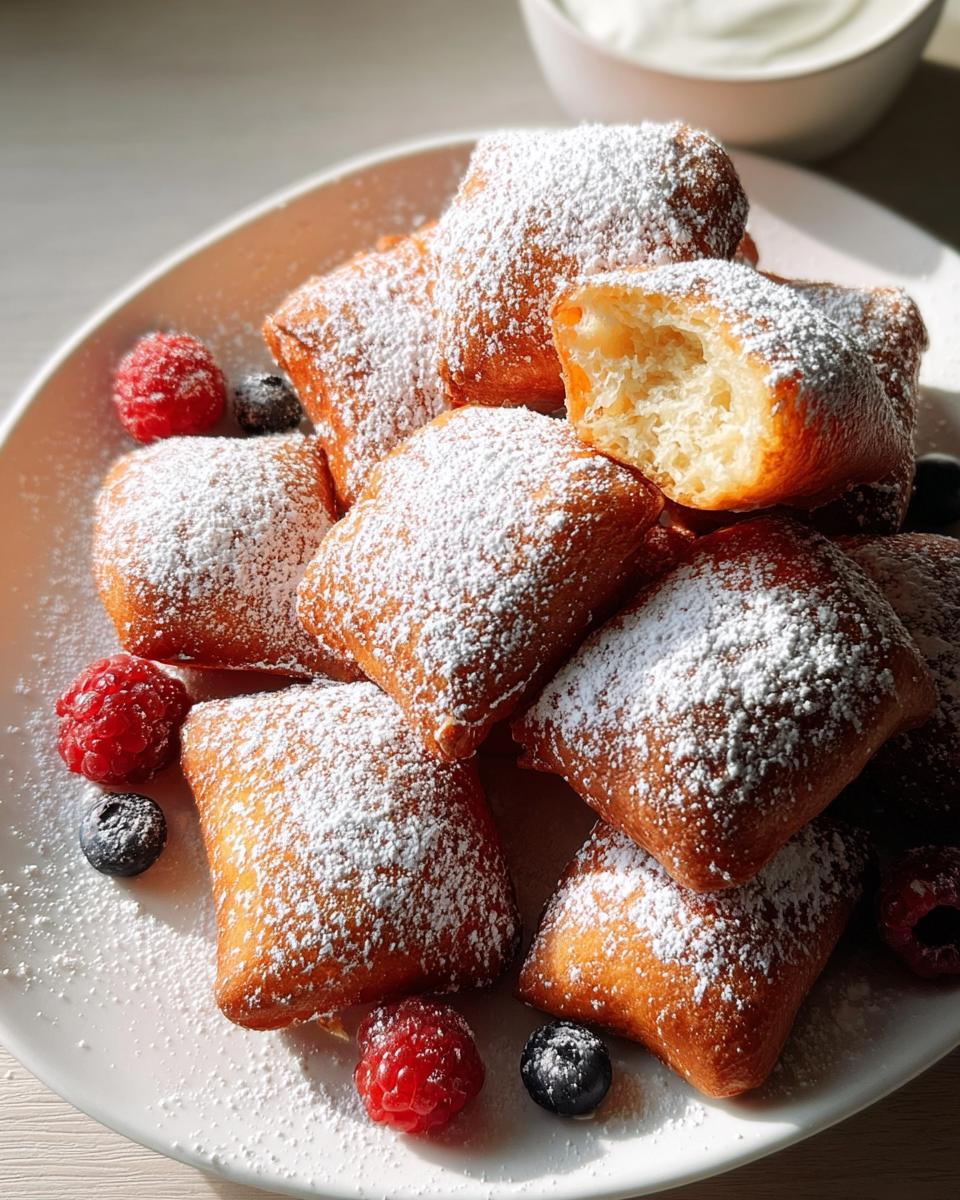
- Ultimate Sweet Tooth Fix: That delicate fried dough paired with a cloud of powdered sugar? Pure bliss that satisfies any craving.
- Oh, and the best part? They deliver that gorgeous, authentic bakery style finish you’ve been dreaming of!
Gather Your Ingredients for Favorite Homemade Desserts: Beignets
Alright, let’s get our ingredients lined up! To make these dreamy beignets, you’ll want to have everything ready to go. I like to pull out my butter and eggs a little ahead of time so they’re at room temperature, which really helps everything blend together smoothly for that perfect dough. Using evaporated milk gives these beignets a wonderfully rich flavor, almost like a secret ingredient that screams “bakery quality!” And warm water? It’s crucial for waking up that quick-rise yeast. Don’t worry if the dough seems a bit sticky; that’s exactly what we’re aiming for to get that super light and airy texture inside.
For the Dough
Here’s what you’ll need to make the magic happen for the dough itself:
- 1/4 cup butter, softened to room temperature
- 3/4 cup granulated sugar
- 1/2 teaspoon salt
- 1/2 teaspoon ground cinnamon
- 1/2 cup warm water, divided (make sure it’s between 120° and 130°F – not too hot, not too cold!)
- 1/2 cup evaporated milk
- 1 package (1/4 ounce) quick-rise yeast
- 1 large egg
- 3-1/4 to 3-3/4 cups all-purpose flour, plus more for dusting
For Frying and Serving
And for bringing these beauties to life and making them look like they belong in a pastry shop:
- Vegetable oil or shortening for deep-fat frying (you’ll need enough to fill your skillet about 2-3 inches deep)
- Confectioners’ sugar, lots of it, for dusting
- Assorted berries and whipped topping, if you’re feeling extra fancy (optional, but highly recommended!)
Crafting Your Favorite Homemade Desserts: Beignet Preparation Steps
Now for the fun part – actually making these beauties! Follow these steps, and you’ll be well on your way to tasting perfection. Remember, a little patience goes a long way, especially when we’re aiming for that truly amazing bakery style finish!
Mixing the Beignet Dough
First things first, let’s get this dough started. In a big bowl, beat together that softened butter, sugar, salt, and cinnamon until it looks a bit crumbly. Now, add in the evaporated milk and half a cup of that warm water. In a separate little bowl, give your yeast a couple of tablespoons of the warmer water and let it dissolve for a minute. Pour that bubbly yeast mixture into your main bowl, toss in the egg, and give it all a good whisk until it’s nicely blended. We’re looking for a smooth base!
Chilling the Dough for a Bakery Style Finish
Okay, time for the dough to take a nice, long nap in the fridge! Stir in about 2 cups of flour until it’s just combined. Then, start adding in more flour, a little at a time, until you get a soft dough that’s a bit sticky. Don’t go overboard with the flour here; a slightly sticky dough is what gives you those wonderfully light and airy beignets later. Pop this lovely sticky mess into a greased bowl, flip it over so the top is greased too, cover it up, and let it chill for at least 4 hours, or even better, overnight! This long chill is key for developing flavor and making the dough easier to handle for that perfect bakery style finish.
Shaping and Frying Your Favorite Homemade Desserts
Once your dough has had its chill time, it’s almost time to fry! Get a good amount of flour on your work surface and lightly dust your rolling pin. Gently roll out the dough into a rectangle, about 16×12 inches. Then, using a knife or pizza cutter, slice it into nice 2-inch squares. While your dough is doing its thing, get your oil heating up in a cast-iron skillet or a deep fryer to a steady 375°F (190°C). This temperature is super important – too low and they’ll be greasy, too high and they’ll burn before they puff up! Carefully drop a few squares into that hot oil at a time (don’t crowd the pan!). They cook fast, usually about a minute per side, until they’re gorgeously golden brown. That’s the color we want for that picture-perfect bakery look!
Finishing Touches for Bakery-Style Beignets
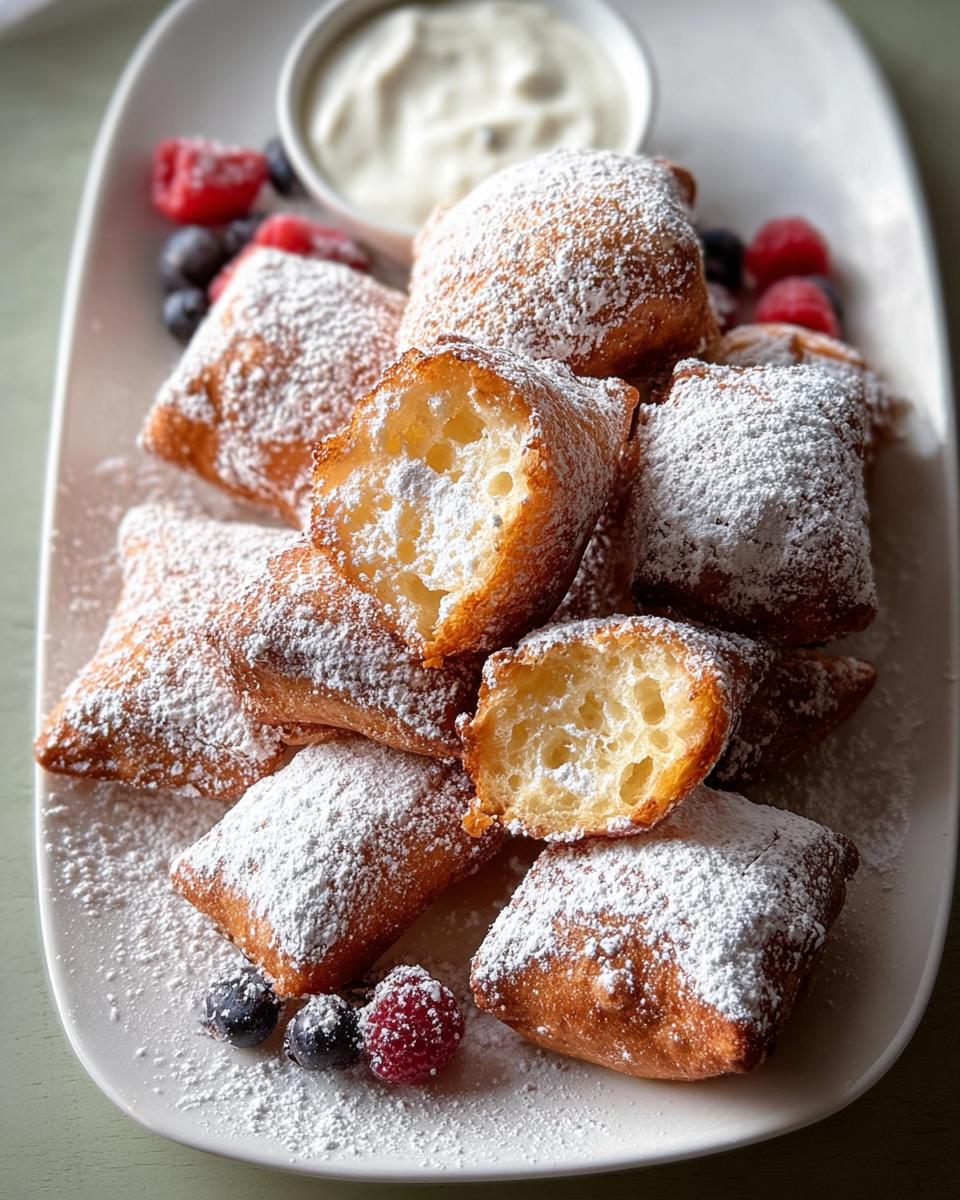
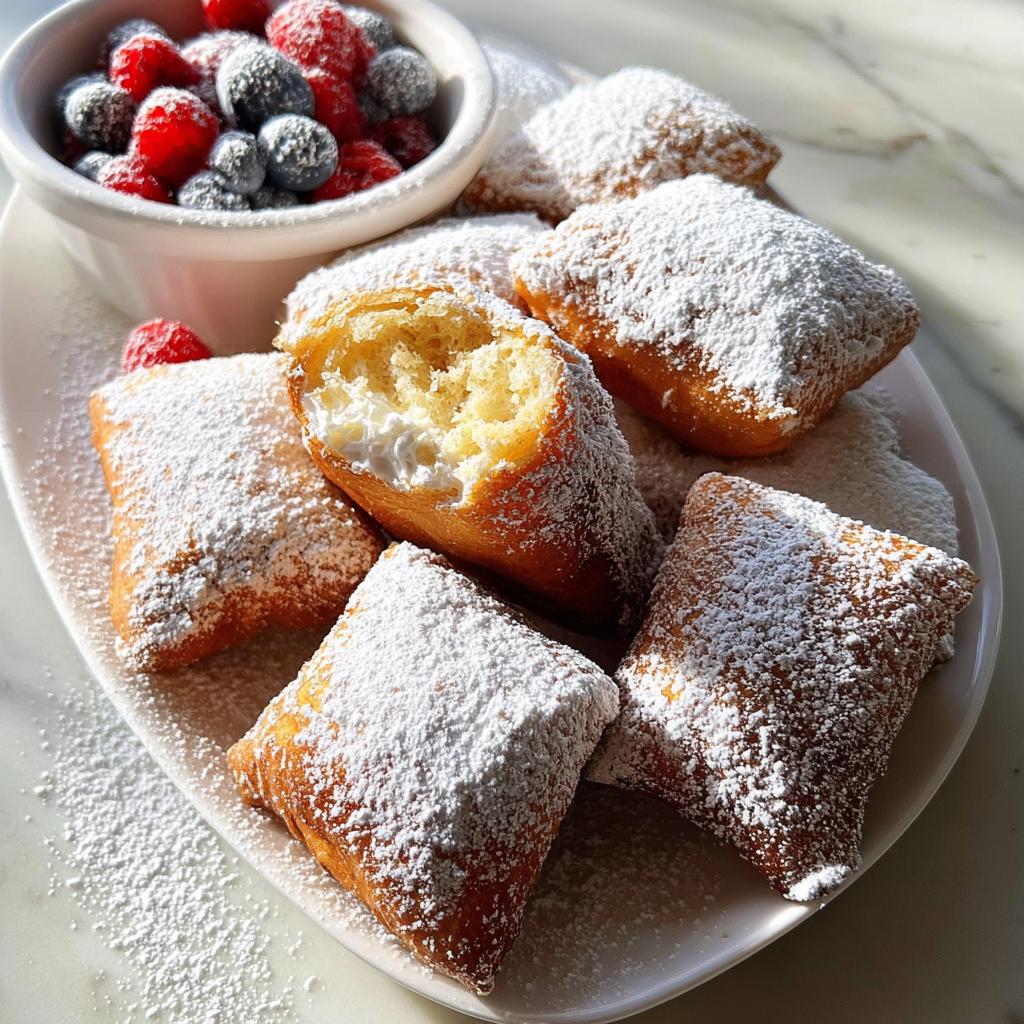
As soon as they’re beautifully golden, scoop those beignets out of the oil with a slotted spoon and lay them on a plate lined with paper towels to drain off any excess oil. Now for the grand finale that makes them truly feel like your favorite homemade dessert with that signature look: the dusting! While they’re still a little warm, generously sift confectioners’ sugar all over them. You want them to be practically buried in white fluffy goodness! If you’re feeling fancy, which you totally should be, pile some fresh berries and a dollop of whipped topping on the side. It’s the ultimate touch!
Transform your kitchen into your own little bakery with these steps!
Tips for Achieving a Bakery Style Finish
Want your beignets to look like they walked right out of a New Orleans patisserie? It’s all about those little tricks! First, get that oil temperature just right – 375°F (190°C) is your sweet spot. Too cool, and they get greasy; too hot, and they burn before puffing up nice and round. Trust me on this one! Also, don’t overwork that dough when you’re rolling it out; a gentle touch keeps them light and airy inside. For that gorgeous powdered sugar coating, wait just a minute after they come out of the fryer. They should still be warm enough to make the sugar cling, but not so hot that it melts into a weird paste. Load it up! For even more flair, check out how Sauvro inspires culinary delight in the kitchen.
Frequently Asked Questions About Beignets
Can I make the beignet dough ahead of time?
Oh, absolutely! This recipe is actually *better* if you make the dough ahead. Chilling it overnight or for at least 4 hours makes it firmer and easier to handle, plus it develops even more flavor. It’s perfect for a quick sweet tooth fix on a lazy weekend morning!
What’s the best oil for frying beignets?
For that classic, golden-brown finish, a neutral-flavored oil with a high smoke point is best. Vegetable oil, canola oil, or even shortening work wonderfully. You want to make sure you have enough oil in your pan, about 2-3 inches deep, so the beignets can float and fry evenly.
How do I get my beignets to puff up like the bakery ones?
The puffiness really comes down to a few things: making sure your yeast is active, not adding too much flour (keep that dough a little sticky!), and most importantly, frying them at the correct temperature, around 375°F (190°C). When they hit that hot oil, the moisture in the dough turns to steam and makes them puff up beautifully!
Are these beignets quick prep friendly?
While the dough needs a good chill time, the active preparation is super quick – probably only about 20 minutes! So, if you plan ahead and let them chill overnight, you’ll definitely have a quick prep way to enjoy a favorite homemade dessert!
Estimated Nutritional Information
Just a heads-up, the nutritional info below is an estimate for one beignet, and it can totally change depending on the exact ingredients you use and how much of that delicious confectioners’ sugar you pile on! It’s all part of the fun of making these at home, right?
- Calories: Around 200-250
- Fat: About 10-15g
- Protein: Roughly 3-4g
- Carbohydrates: Plus 25-30g
Share Your Favorite Homemade Desserts Creations
I just love seeing what you all create in your kitchens! Have you made these beignets? Maybe you tried a fun variation or have a special topping you love? Seriously, share your photos and stories in the comments below! I can’t wait to hear all about your own flavorful cooking adventures and to see your beautiful results. A quick rating would be amazing too!
Beignets
Ingredients
Equipment
Method
- Beat butter, sugar, salt, and cinnamon until crumbly. Beat in 1/2 cup water and evaporated milk. In another bowl, dissolve yeast in the remaining 2 tablespoons water; add to the milk mixture. Beat in the egg until blended.
- Add 2 cups flour and mix until well blended. Stir in enough remaining flour to form a soft dough. The dough will be sticky. Place in a greased bowl, turning once to grease the top. Cover and refrigerate for 4 hours or overnight.
- Bring the dough to room temperature. On a floured surface, roll dough into a 16×12-inch rectangle. Cut into 2-inch squares.
- In a deep cast-iron skillet or deep-fat fryer, heat oil to 375°F (190°C). Drop beignets, a few at a time, into the hot oil. Fry until golden brown, about 1 minute per side.
- Drain on paper towels. Dust with confectioners’ sugar. If desired, serve with assorted berries and whipped topping.
Notes
Tried this recipe?
Let us know how it was!Maya Stevens is an accomplished culinary writer dedicated to empowering everyday cooks with skills, confidence, and flavor-forward inspiration. With years of experience developing approachable, well-tested recipes, Maya has become known for her warm teaching voice and her ability to transform simple ingredients into memorable, soul-satisfying meals. Today, she proudly contributes to sauvro.com, where she creates trusted recipes designed for real kitchens, real schedules, and real life.
Maya’s culinary journey began in boutique cafés and small farm-to-table kitchens, where she first discovered her love for seasonal cooking, experimentation, and scratch-made food. After working her way up through kitchen roles and earning a reputation for her thoughtful approach to flavor, she shifted her focus toward culinary media and recipe writing. This transition allowed her to reach home cooks on a larger scale—teaching, inspiring, and sharing the techniques she once used behind the line.
Throughout her career, Maya has collaborated with food startups, local chefs, and kitchenware brands to develop recipes, educational resources, and digital cooking guides. Her work has been featured in online food communities and recipe roundups, celebrated for its clarity, creativity, and reliability. Whether she’s crafting a weeknight meal, a comforting classic, or a fresh twist on a familiar dish, Maya is committed to developing recipes that work the first time and make home cooks feel proud of what they create.