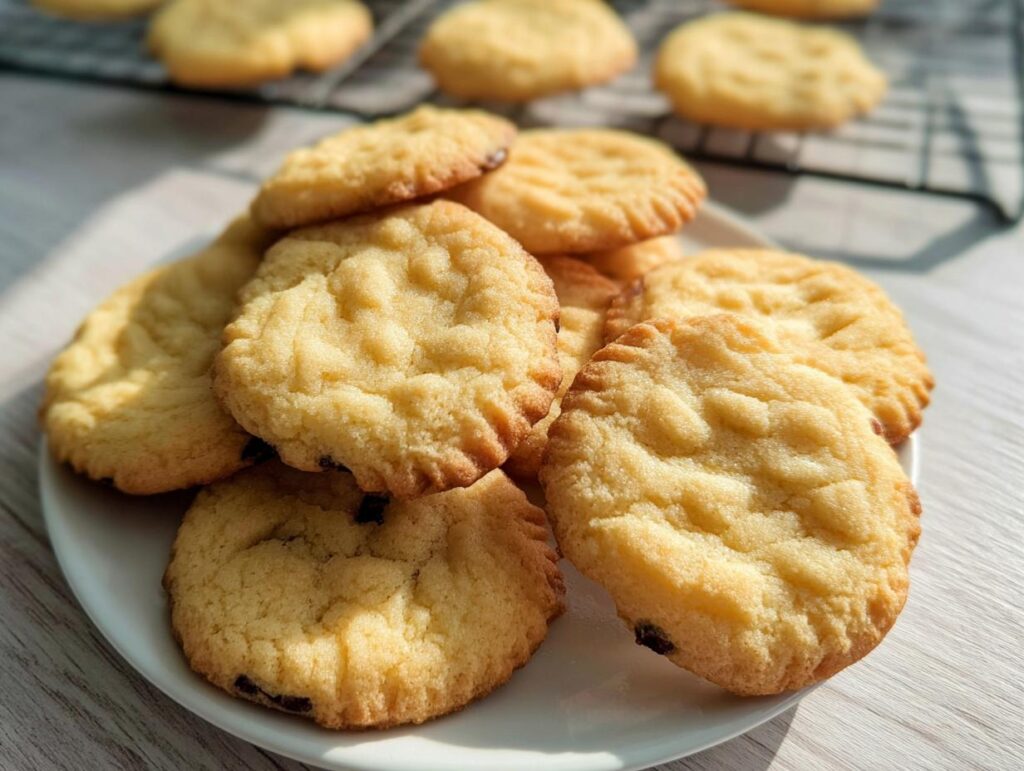
There’s just something magical about a dessert that brings everyone to the table, isn’t there? You know, those kinds of sweet treats that make you want to linger just a little bit longer after dinner, sharing stories and laughter. That’s what making Dessert Recipes Everyone Will Love is all about for me. My Grandma always said dessert was the best part of the meal because it’s where the real conversations happened. She’d pull out her famous butter cookies, and suddenly, the whole room would just… glow. These cookies are honestly the perfect example of what I mean – simple, delicious, and always, always a hit. They’ve got that nostalgic charm and taste amazing, which is precisely why they’re such a go-to for me when I want to make something special without any fuss. My experience in countless kitchens, from bustling restaurants to cozy home get-togethers, has taught me that the most beloved recipes are often the simplest ones, made with care and a little bit of love.
Why These Classic Butter Cookies Are Dessert Recipes Everyone Will Love
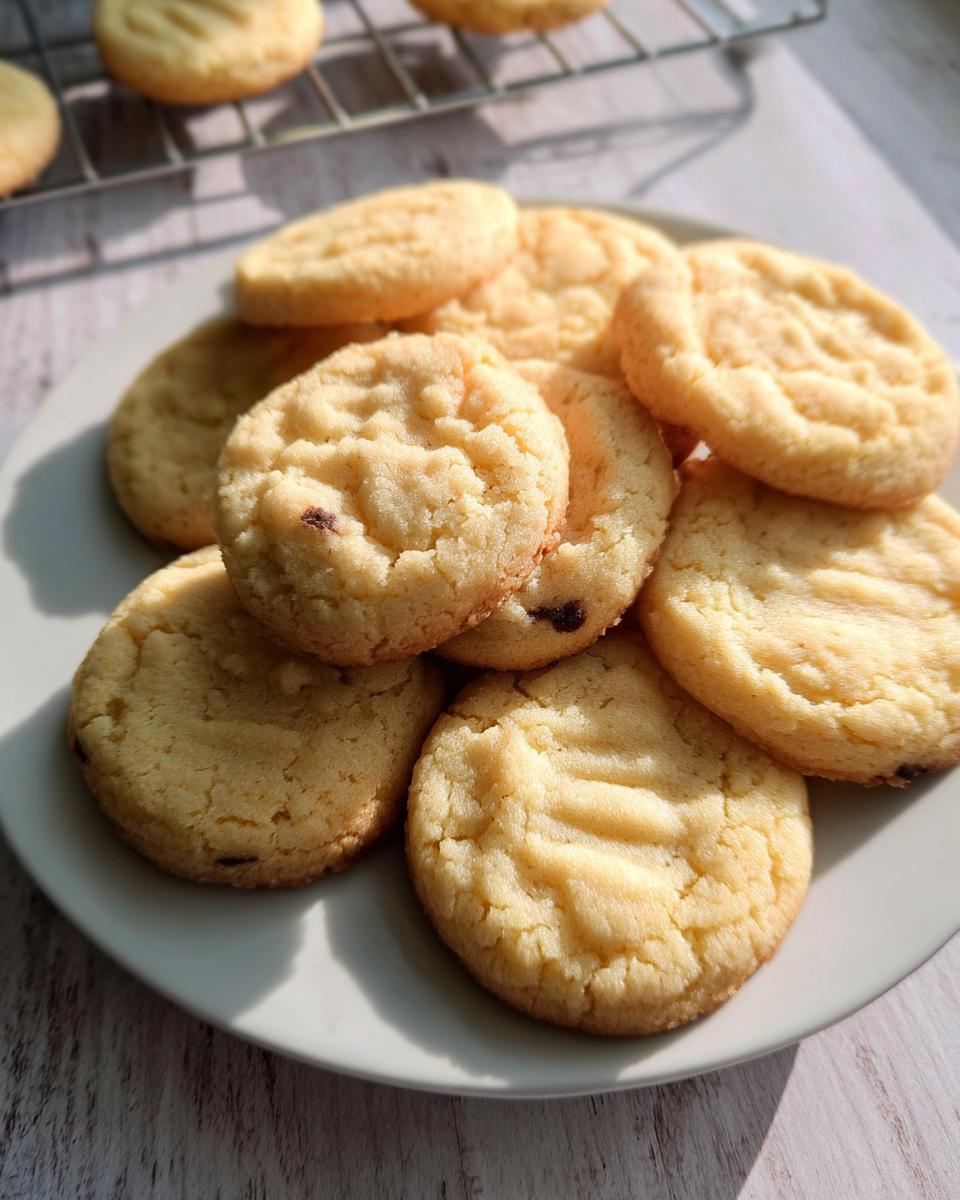
You know, when I think about Dessert Recipes Everyone Will Love, my mind always goes straight to a batch of perfect butter cookies. They’re like a warm hug in cookie form! What makes them so special? It’s their pure simplicity, really. No fancy ingredients, just good old butter and sugar that taste like pure comfort. They’re incredibly versatile too – you can dress them up or leave them just as they are. Plus, they’re total Classic Favorites that everyone, from your littlest niece to your pickiest uncle, will adore. Baking these really does give you that confidence boost, knowing you’ve got a winner on your hands.
Gather Your Ingredients for Classic Butter Cookies
Alright, let’s get everything ready for these amazing cookies! You’ll want to have these handy. We’re keeping it super simple, which is part of why they’re such a hit. You’ll need: two cups of butter, make sure it’s softened, not melted, okay? Then, one cup of packed brown sugar for that lovely richness. For the flour, it’s usually between four and four and a half cups of all-purpose flour. That little bit of flexibility is just in case! You’ve got this!
Essential Equipment for Perfect Butter Cookies
Before we dive into making magic happen, let’s make sure we’ve got our trusty tools ready. You’ll definitely want your oven, of course! A good sturdy baking sheet is a must, and lining it with parchment paper makes cleanup an absolute breeze – trust me on this one! Grab a fork for those cute little pricks, and have a wire rack ready for cooling. That’s pretty much all you need!
Step-by-Step Guide to Making Dessert Recipes Everyone Will Love
Alright, let’s get down to business and make these amazing cookies! This is where the magic really happens for our Dessert Recipes Everyone Will Love. First things first, get that oven preheated to 325°F (160°C). It’s important to have it ready to go!
Creaming Butter and Sugar for a Fluffy Base
In a big bowl, grab your softened butter and that packed brown sugar. Cream them together until the mixture is nice and fluffy. Seriously, give it about 5 to 7 minutes with your mixer – it’s worth the time to get it light and airy!
Incorporating Flour and Kneading the Dough
Now, let’s add in about 3 and 3/4 cups of the flour to that creamy mixture. Mix it until it’s just combined. Then, turn the dough out onto a lightly floured surface. Knead it for about 5 minutes, adding just enough of the remaining flour so it forms a soft dough that’s not sticky. You want it pliable!
Shaping and Pricking the Cookie Strips
Lay out a piece of parchment paper and roll your dough into a rectangle, roughly 16 by 9 inches. Carefully slide that parchment paper onto your baking sheet. Now, cut the dough into nice strips, about 3 inches long and 1 inch wide. Grab a fork and prick each strip a few times. This helps them bake evenly!
Chilling the Cookie Dough for Best Results
This step is super important for that perfect texture. Carefully transfer the parchment paper with the cut cookie strips onto a baking sheet and pop it in the fridge for at least 30 minutes. You can even do this the day before if you’re planning ahead!
Baking and Cooling Your Perfect Butter Cookies
Once the dough is chilled and you’re ready to bake, separate the strips onto ungreased baking sheets, leaving about an inch between them. Bake them in that preheated oven for 20 to 25 minutes, or until they’re just lightly golden brown. Let them cool on the baking sheets for a minute before carefully transferring them to wire racks to cool completely. Patience here is key!
Tips for Success with These Dessert Recipes Everyone Will Love
Okay, so you’ve got your ingredients, your equipment, and you’re ready to whip up some amazing Dessert Recipes Everyone Will Love, right? Here are a few little tricks I’ve picked up that really make a difference. First off, make sure that butter is *truly* softened, not melty. It makes all the difference when you’re creaming it for that perfect texture! Also, ovens can be so wacky, can’t they? Keep an eye on those cookies towards the end of baking; some ovens run hotter, and you don’t want them to get too brown. Trust your eyes and your nose! And if you ever feel like your dough is a little too soft after chilling, don’t be afraid to pop it back in for another 15 minutes. These little things just help ensure your cookies turn out absolutely dreamy every single time.
Ingredient Notes and Substitutions for Butter Cookies
You know, the beauty of these cookies is how simple they are, but a few little details really matter. For the brown sugar, make sure it’s ‘packed’! That just means you press it into the measuring cup firmly. It has molasses in it, which gives a lovely depth of flavor that you just don’t get with white sugar. If you happen to not have brown sugar, you *could* use granulated sugar, but honestly, it won’t be quite the same – a little less rich. As for the butter, using real dairy butter is key for that classic flavor and texture. Margarine just doesn’t perform the same way and can lead to a different result. Stick with butter if you can!
Serving Suggestions for Your Crowd-Pleasing Dessert
These classic butter cookies are just begging to be shared! They’re absolutely divine with a cup of hot coffee or a nice cup of tea – perfect for an afternoon pick-me-up. You could also totally make them part of a beautiful dessert platter for parties, maybe alongside some fresh berries or a dollop of whipped cream. And for a little extra sparkle? A simple drizzle of melted chocolate or some colorful sprinkles makes them even more festive. Honestly, they’re so good, they don’t need much, but a little bit of jazzing up can turn them into something really special for any occasion. Check out this for inspiration on making any treat a showstopper!
Storage and Reheating Instructions for Your Butter Cookies
Keeping these yummy cookies fresh is super easy! Once they’ve cooled down completely, just pop them into an airtight container. They’ll stay wonderfully delicious at room temperature for a good 3 to 5 days. Honestly, they usually don’t last that long, but it’s good to know they keep well! If you wanted to warm them up a tiny bit, just pop a few on a baking sheet in a low oven (like 250°F or 120°C) for just a couple of minutes until they’re warm and slightly crisped up again. Enjoy!
Frequently Asked Questions About Dessert Recipes Everyone Will Love
Got questions about whipping up some fantastic Dessert Recipes Everyone Will Love? I’ve totally got you! Here are some common things people ask when they’re making these classic butter cookies, or just thinking about all the sweet possibilities out there.
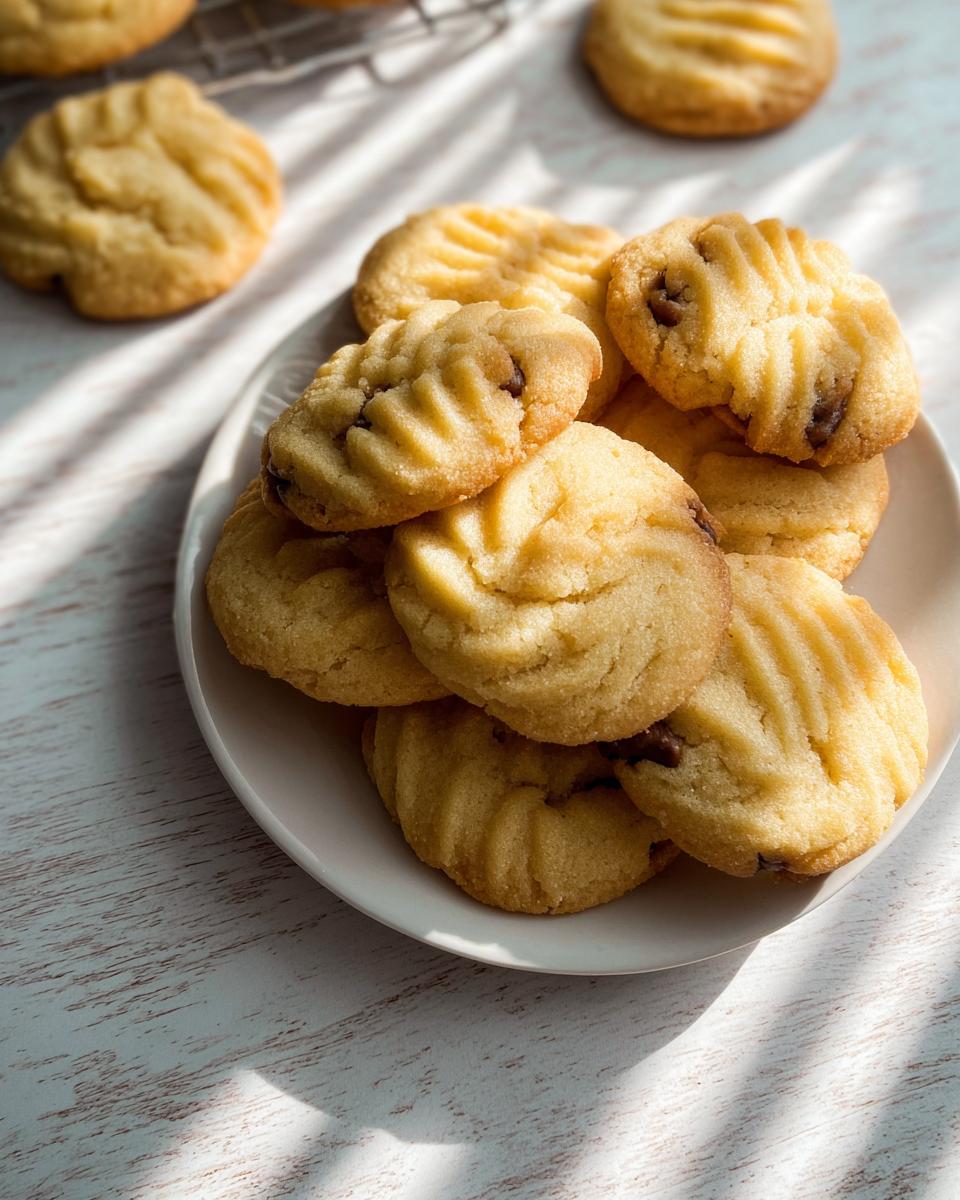
Can I add chocolate chips to these butter cookies?
Oh, absolutely! If you’re a big fan of Chocolate Lovers, adding chocolate chips to this recipe is a fantastic idea. Just stir in about a cup of your favorite chips during the last few minutes of mixing the dough. You might need to add a tiny bit more flour if the dough seems too soft. They’ll bake up beautifully!
How do I make sure my butter cookies are crisp and not soft?
To get that perfect crispiness, make sure you bake them just until the edges are lightly golden brown. Don’t pull them out too early! Also, letting them cool completely on a wire rack is key. Air circulation helps them firm up and get nice and crisp. Sometimes, popping them back in a slightly warm oven for a few extra minutes can do the trick if they feel a bit soft.
What is the best way to store homemade butter cookies?
The best way to keep these tasting great is to store them in an airtight container at room temperature, just like we talked about earlier. Make sure they’re fully cooled before sealing them up. This keeps them fresh and delicious for several days, though they rarely last that long in my house!
Estimated Nutritional Information
Just a heads-up, these numbers are estimates per cookie and can change based on the brands you use and how you measure things. Generally, you’re looking at around 150-200 calories, about 10-14g of fat, 2-3g of protein, and 15-20g of carbohydrates per cookie. Happy baking!
Classic Butter Cookies
Ingredients
Equipment
Method
- Preheat your oven to 325°F (160°C). Cream the softened butter and brown sugar together in a large bowl until the mixture is light and fluffy, which should take about 5 to 7 minutes.
- Add 3-3/4 cups of the all-purpose flour to the butter and sugar mixture. Mix until well combined. Turn the dough out onto a lightly floured surface. Knead the dough for 5 minutes, gradually adding enough of the remaining flour to form a soft dough that is not too sticky.
- On a sheet of parchment paper, roll the dough into a 16×9-inch rectangle. Carefully transfer the parchment paper with the dough onto a baking sheet. Cut the dough into 3×1-inch strips. Prick each cookie strip multiple times with a fork.
- Refrigerate the cut cookie strips for at least 30 minutes, or you can refrigerate them overnight.
- When ready to bake, separate the cookie strips and place them about 1 inch apart on ungreased baking sheets. Bake in the preheated oven until the cookies are lightly browned, which will take 20 to 25 minutes. Transfer the baked cookies to wire racks to cool completely.
Notes
Tried this recipe?
Let us know how it was!Noah Clark is a skilled Recipe Developer, culinary writer, and food-education enthusiast dedicated to helping home cooks create bold, memorable meals without unnecessary complexity. Known for his clear teaching style, smart technique breakdowns, and modern approach to flavor, Noah has earned the trust of readers who want recipes that are both inspiring and achievable. Today, he proudly contributes to sauvro.com, where he develops reliable, flavor-driven recipes designed for real home kitchens.
Noah’s culinary journey began in independent cafés and farm-to-table restaurants, where he learned the foundations of scratch cooking, seasonal ingredients, and flavor balance. After progressing from prep cook to kitchen lead, he discovered that his true passion was not only cooking—but teaching others how to cook well. Motivated by that mission, he transitioned into culinary content and digital recipe development, combining food knowledge with a talent for communication and instruction.